DIY Tutorial: How to Make a Beautiful No Sew Yarn Flower Wreath in Under an Hour!
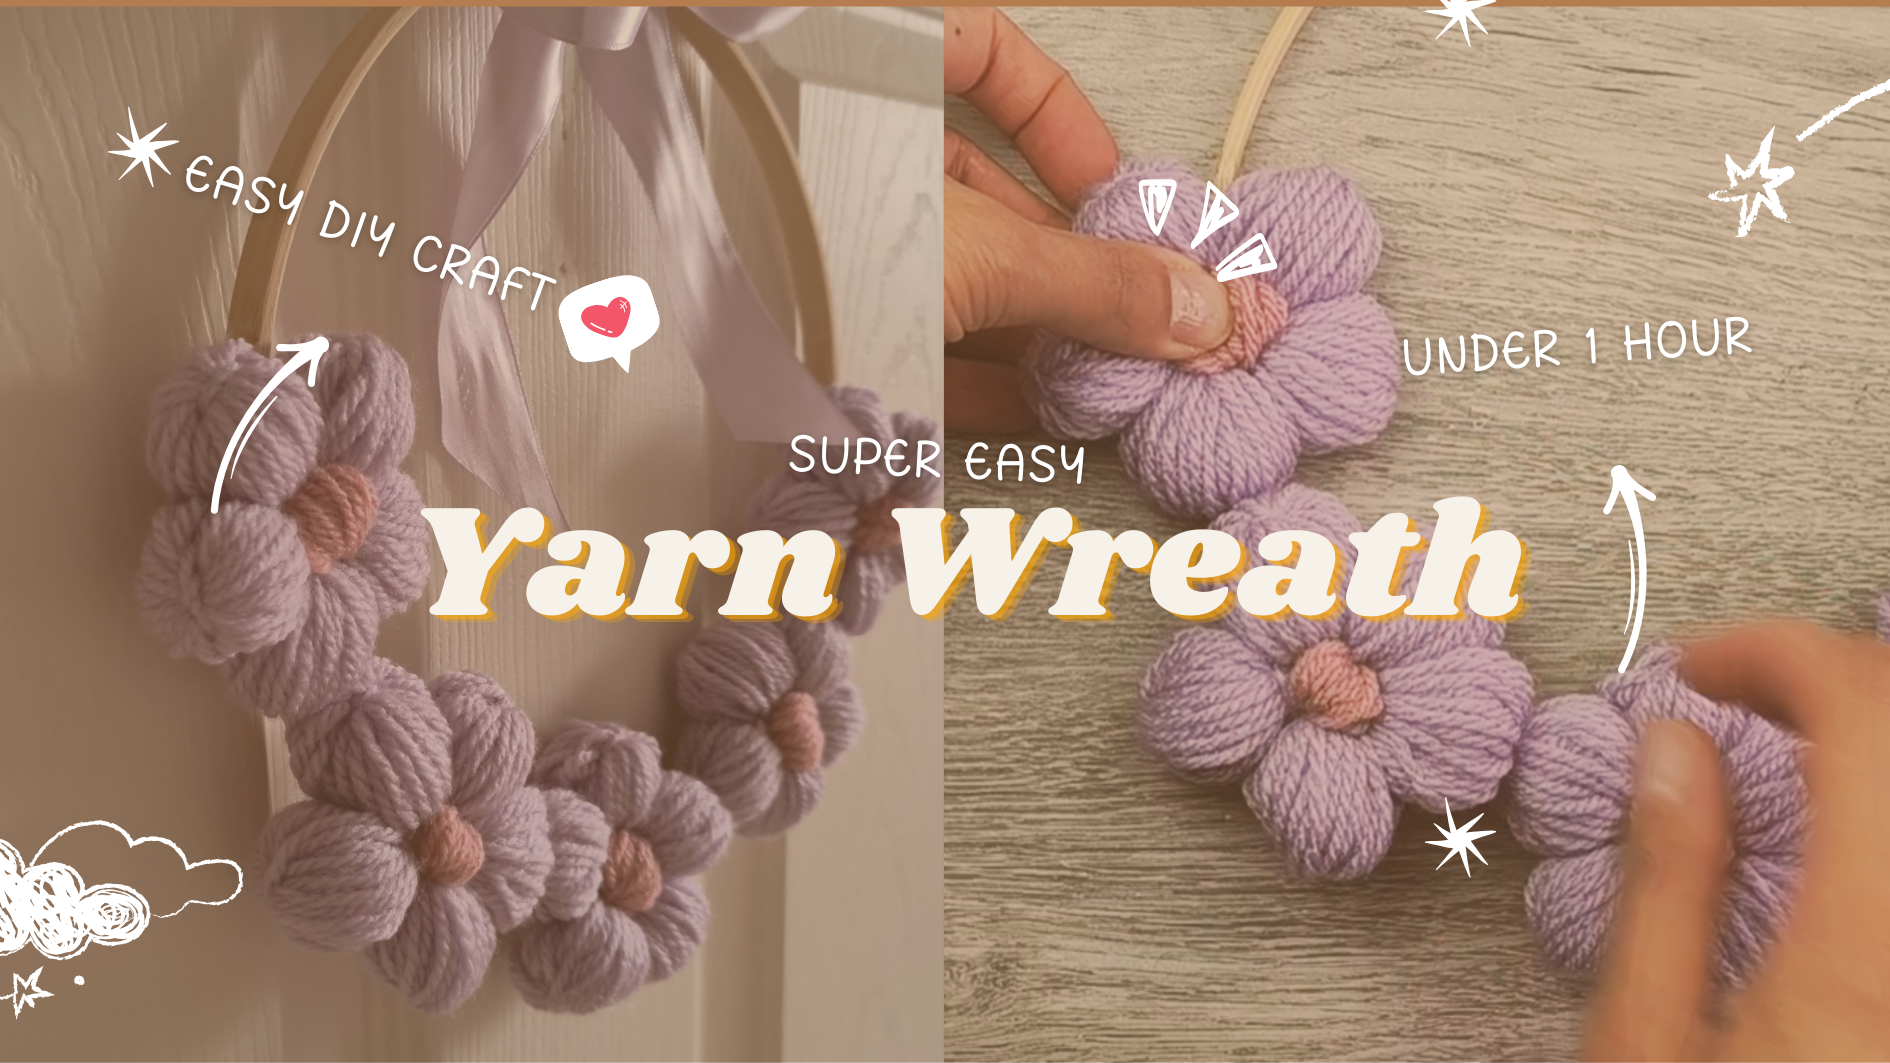
Welcome, craft enthusiasts! Are you looking for a charming and creative way to decorate your home this Spring and Summer? Or perhaps a quick make as a handmade gift? Look no further! In this step-by-step tutorial, we'll guide you through creating a stunning yarn flower wreath. This project is not only fun and easy (get the family involved, they can make a flower each!) but also customisable to match your home décor or the occasion! It’s also relatively cost-effective as you may already have left over yarn from a previous project and this is a great way to use it up! Let's dive in and get crafting!
You will need:
-
Yarn in 2 colours of choice (petal and inner disk)
-
Scissors
-
Plastic Needle
-
Hot glue gun and glue sticks
-
Embroidery Hoop or Wreath
-
Ribbon in colour of choice
- Protective Surface
Optional
- Ribbon and Emblishments
Step 1: Creating the Petal
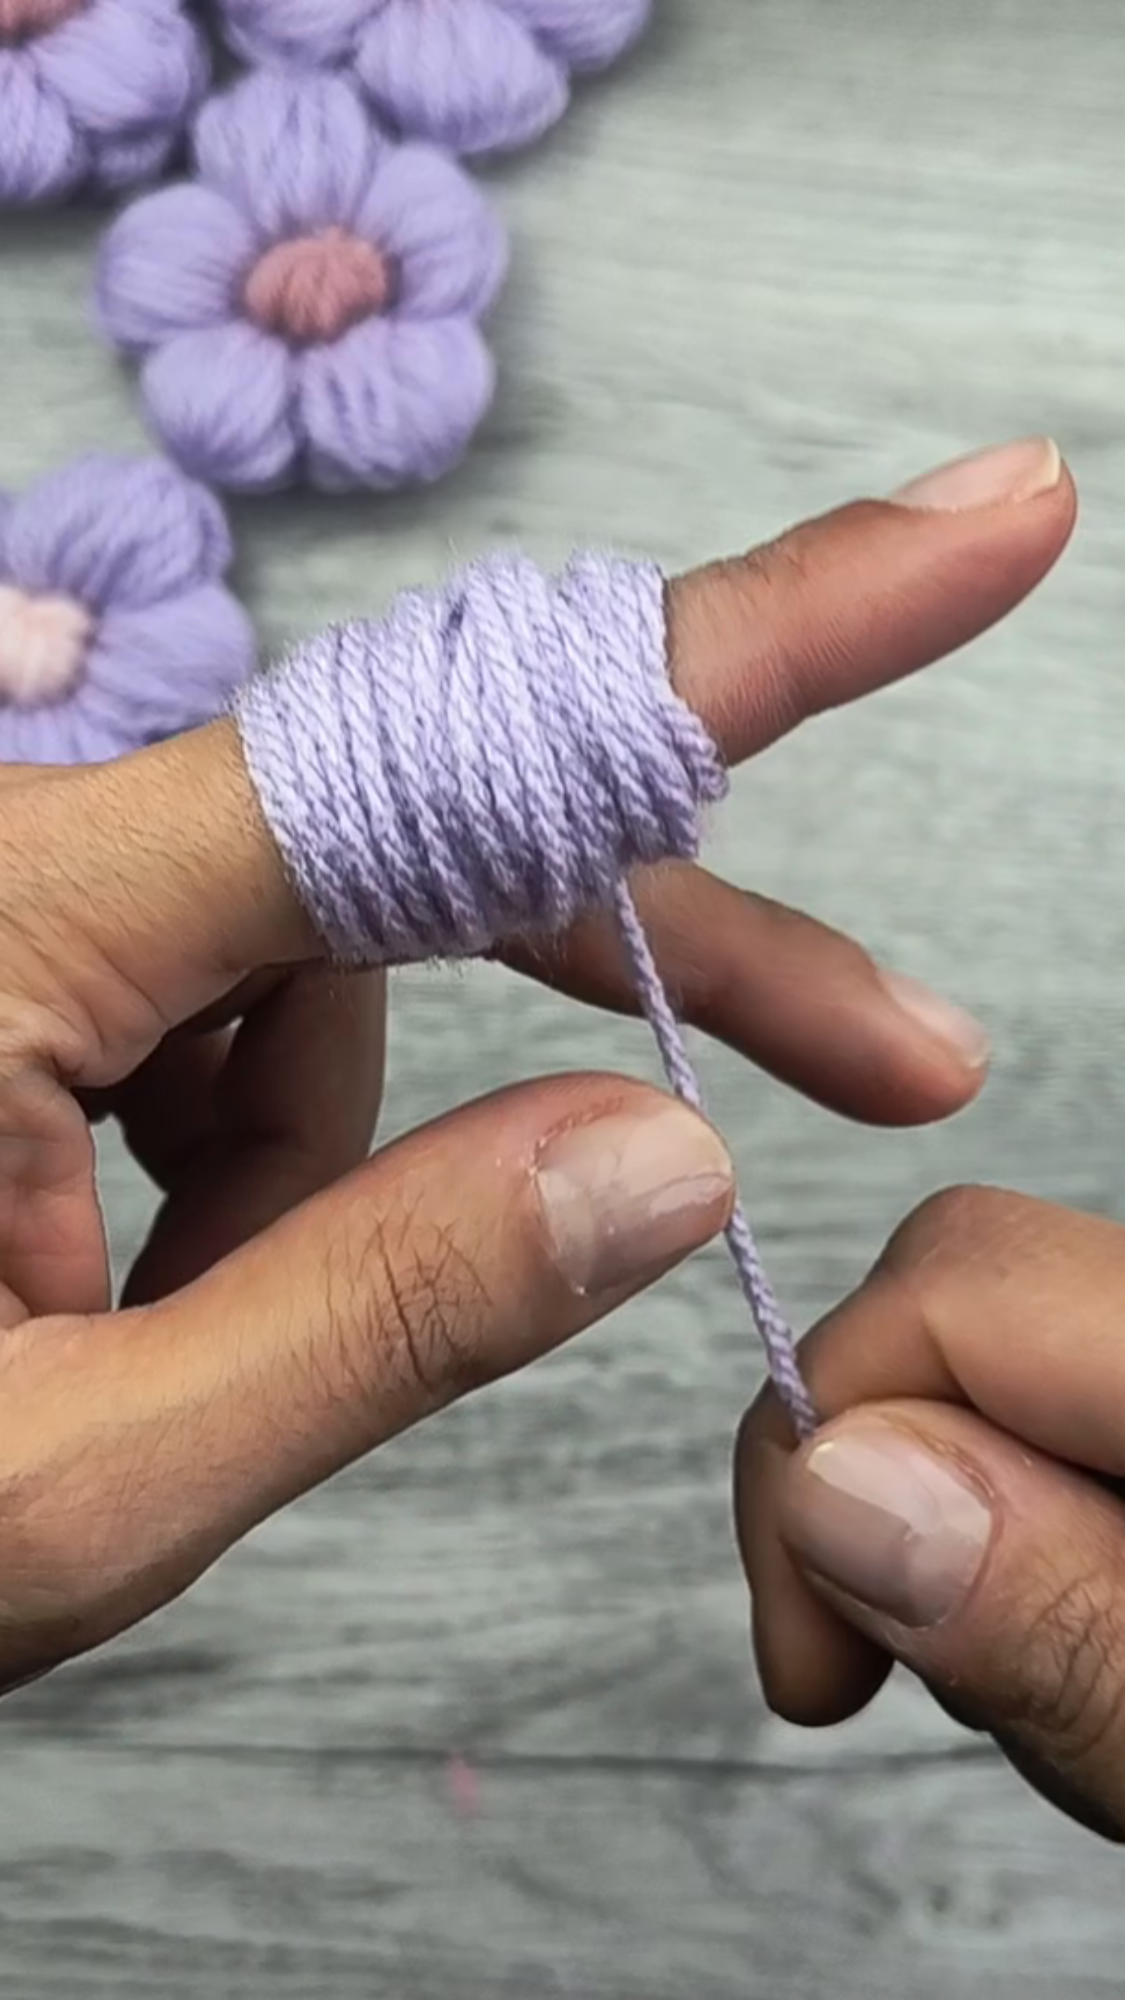
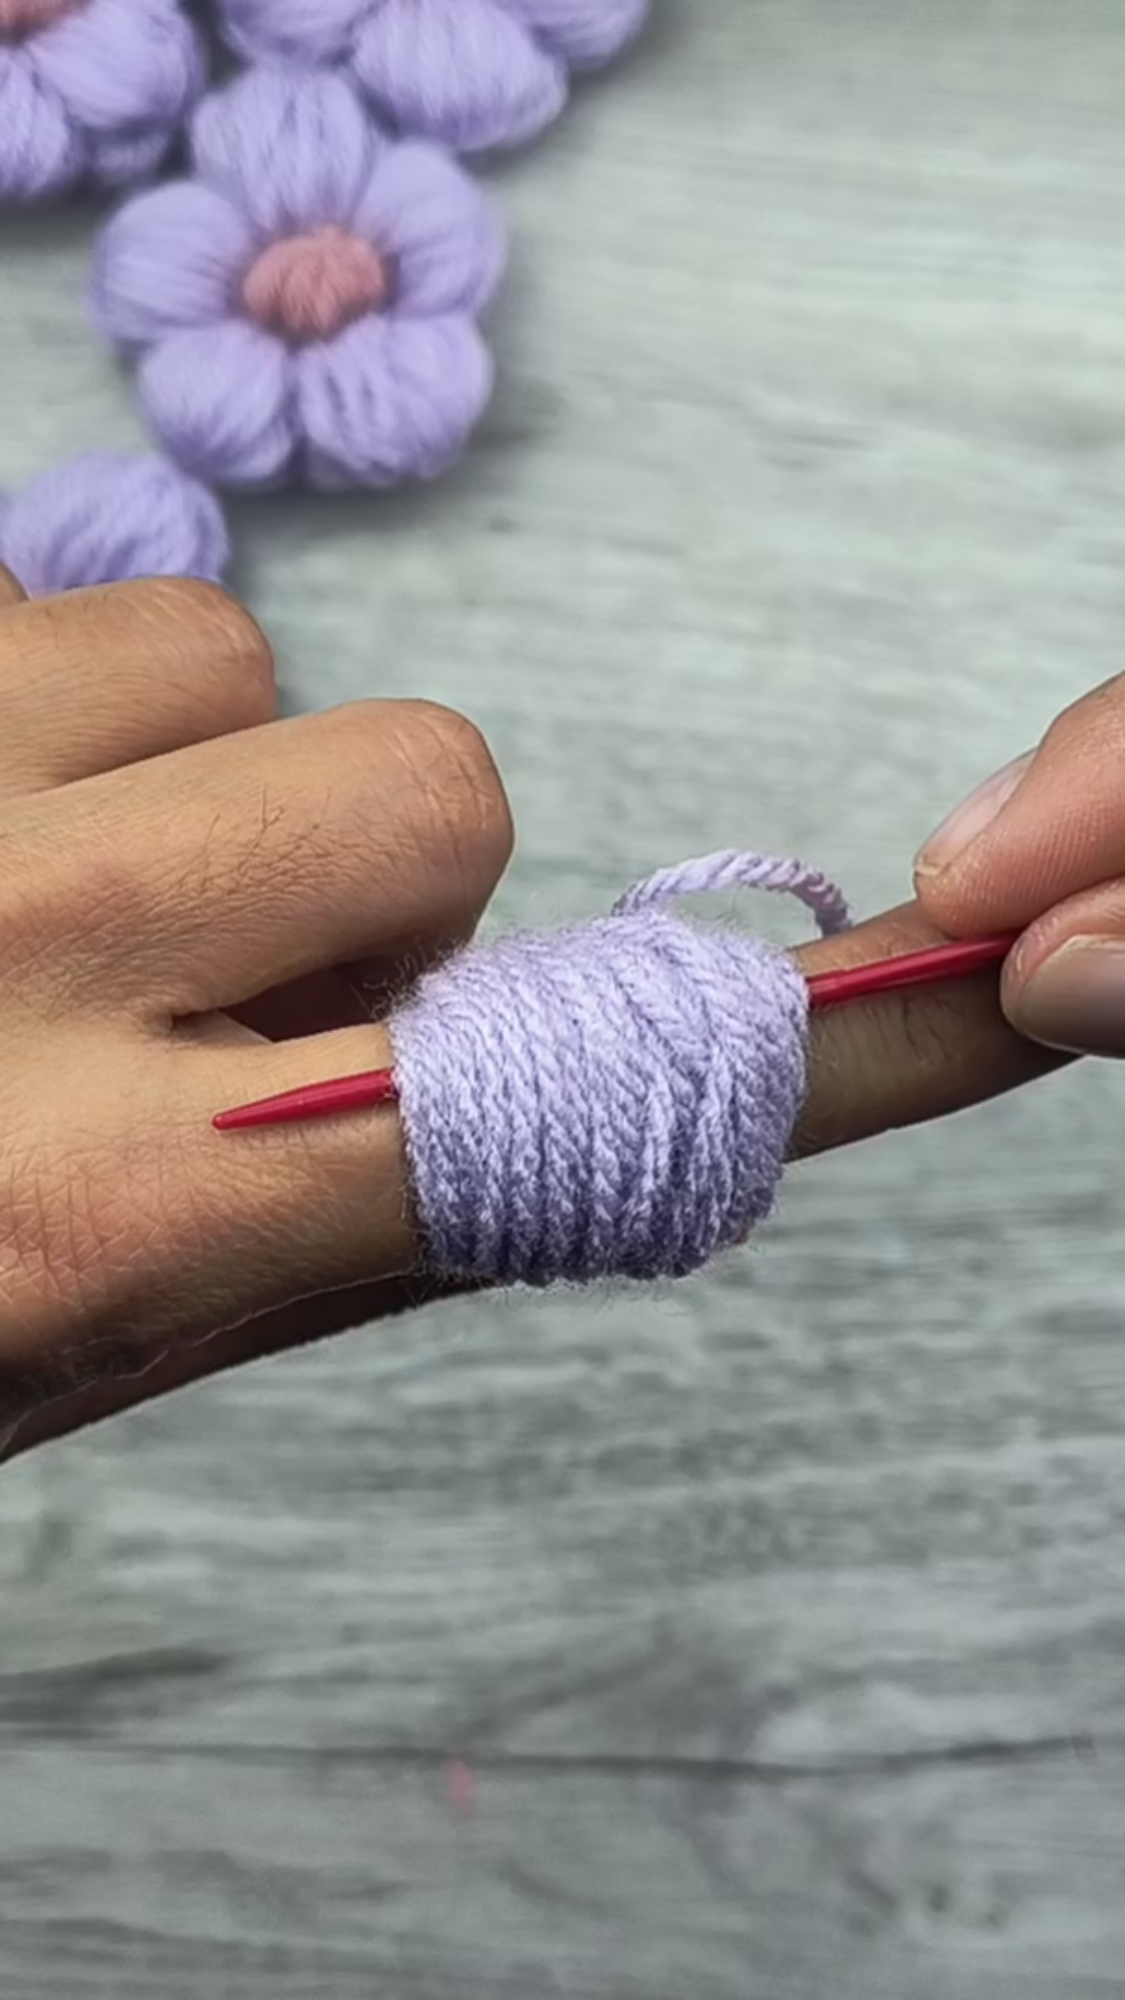
Begin by creating each petal. Wrap yarn around your index finger 40 times being sure to wrap over the start of the yarn. Leave a long tail (approximately 20cm) and cut the yarn. You will have the yarn wrapped around your index finger and a long tail of yarn.
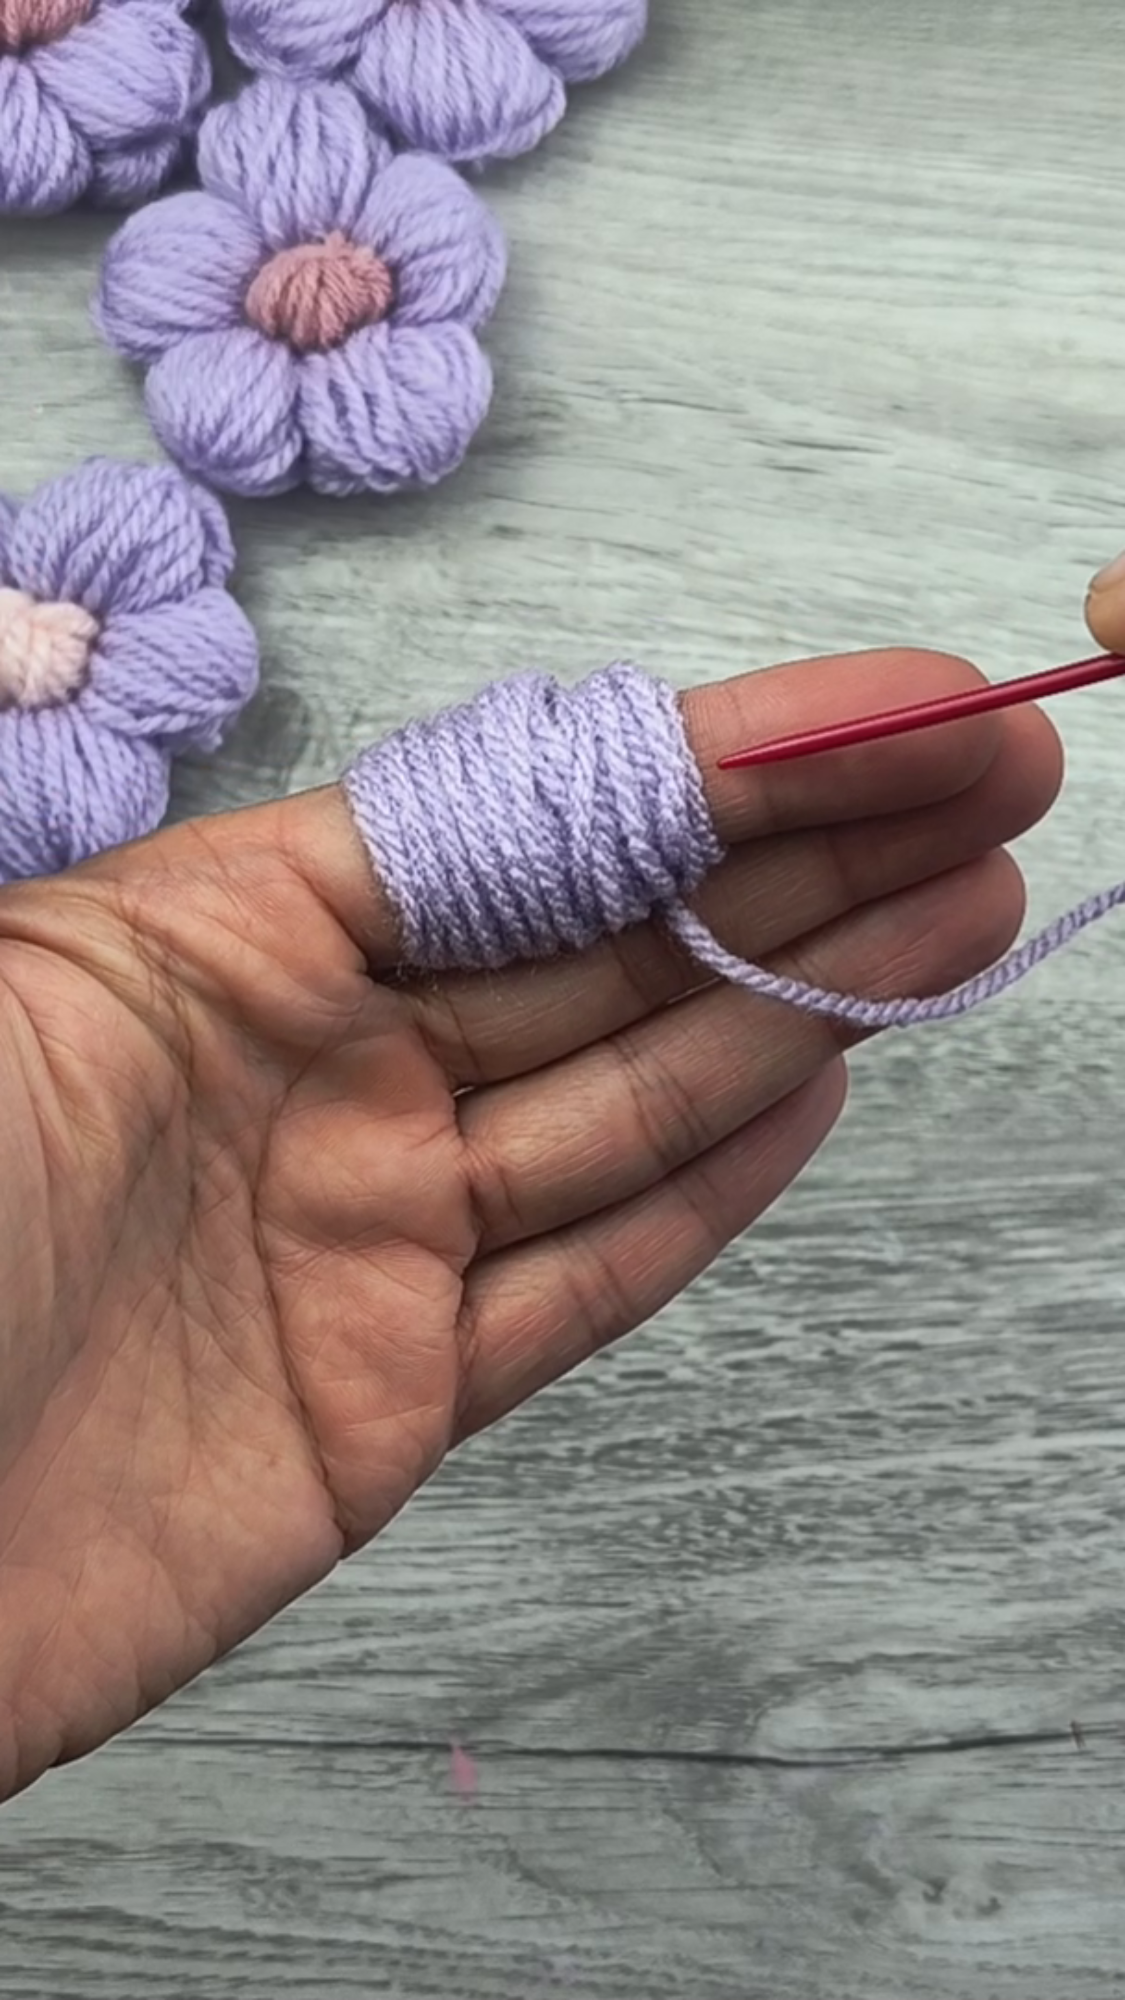
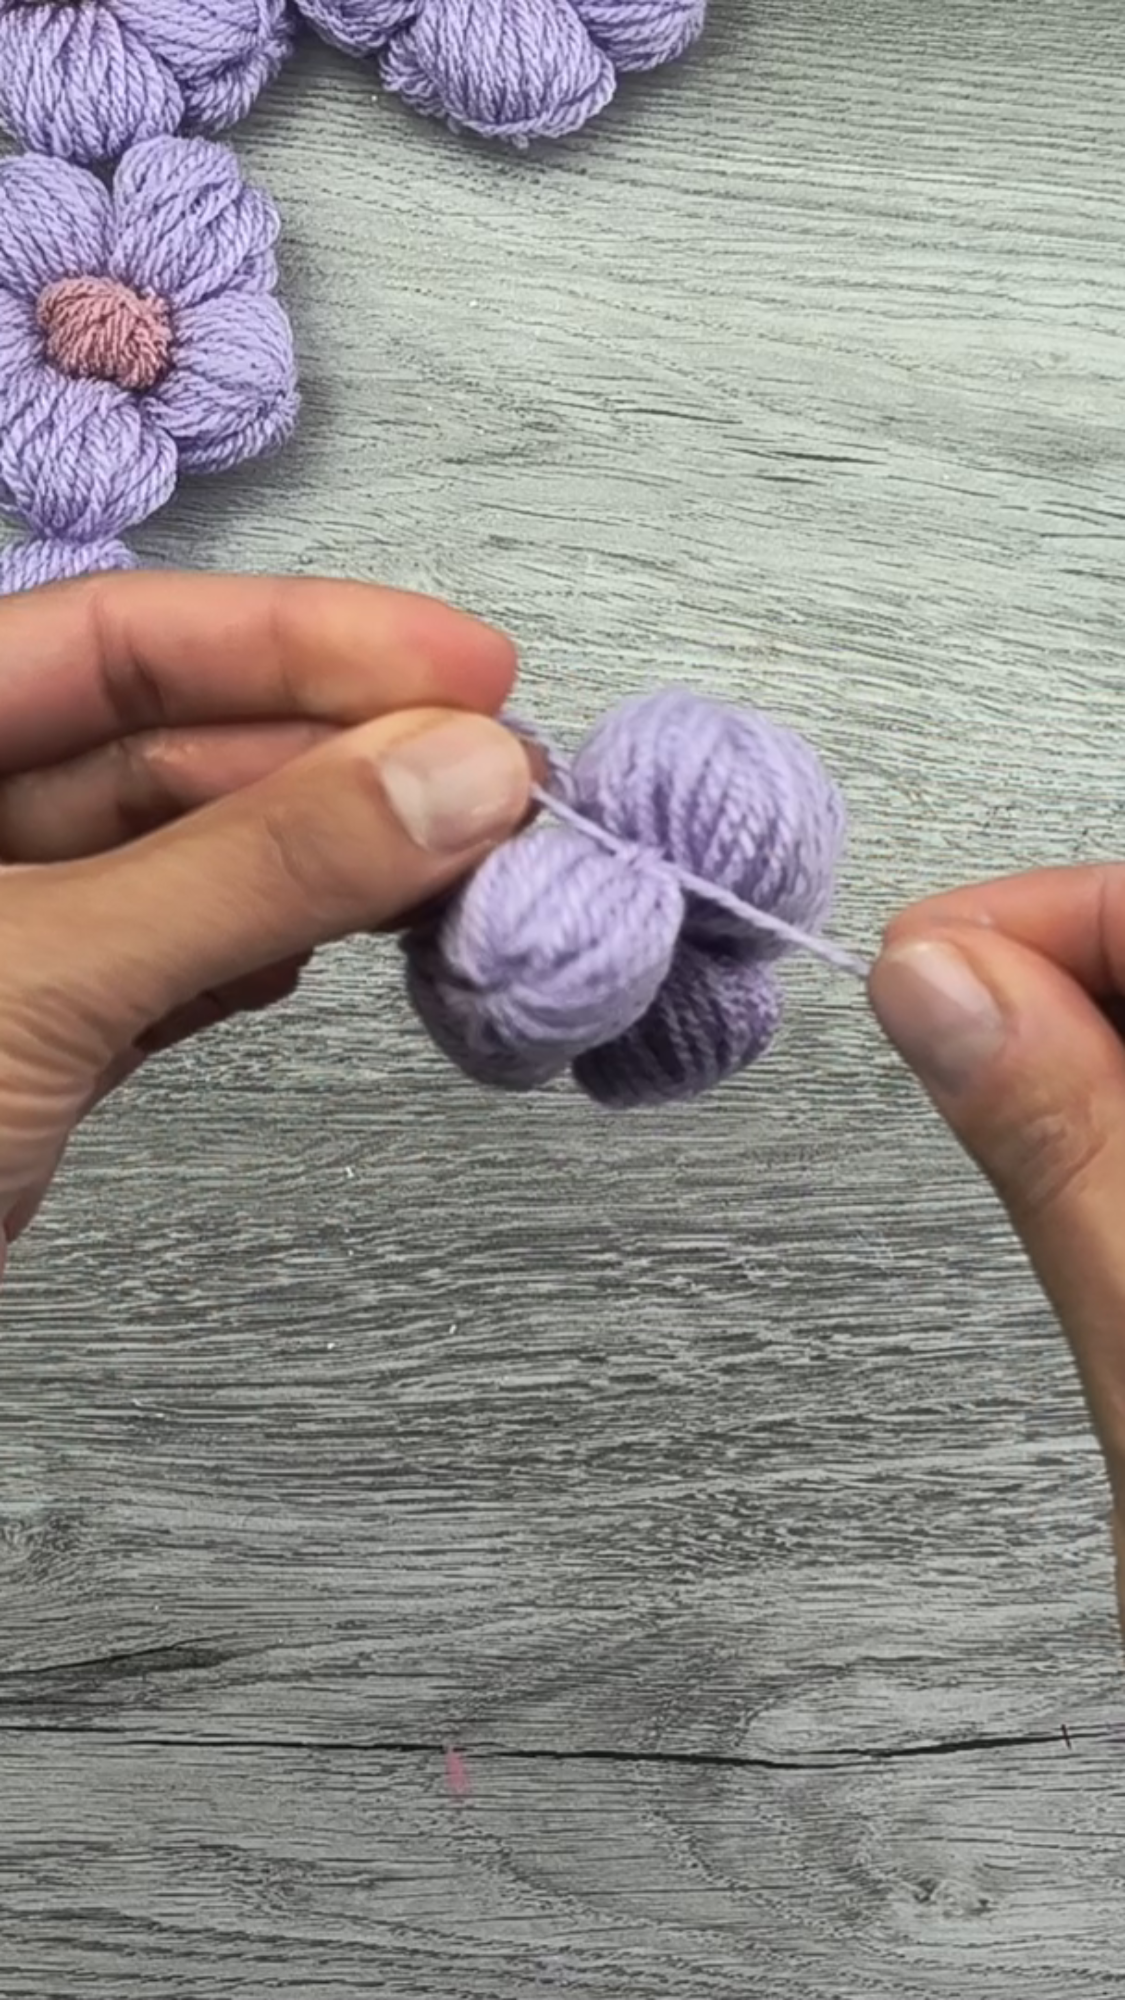
Thread the end of the yarn through the plastic needle and then thread the end of the yarn under and through the wrapped yarn on one side of your finger.
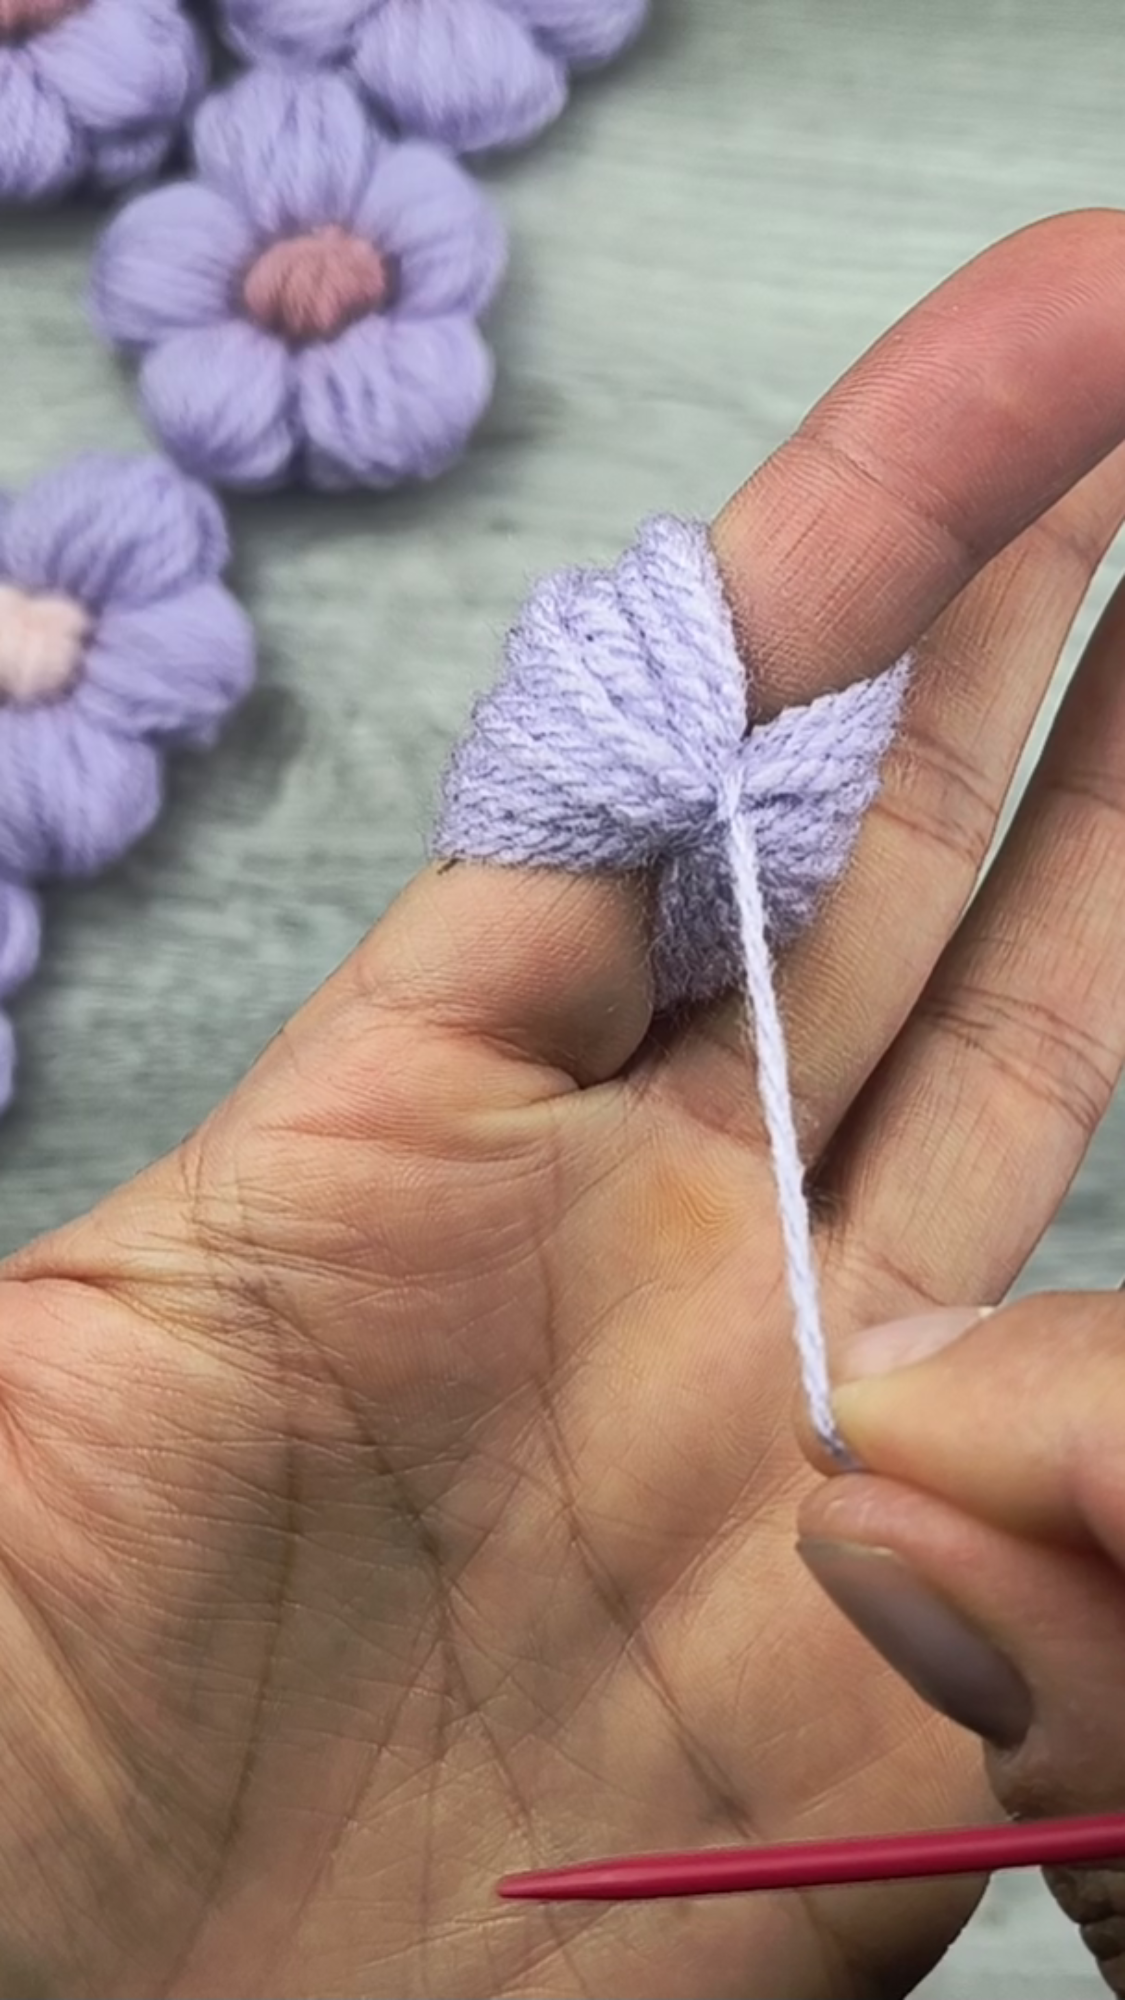
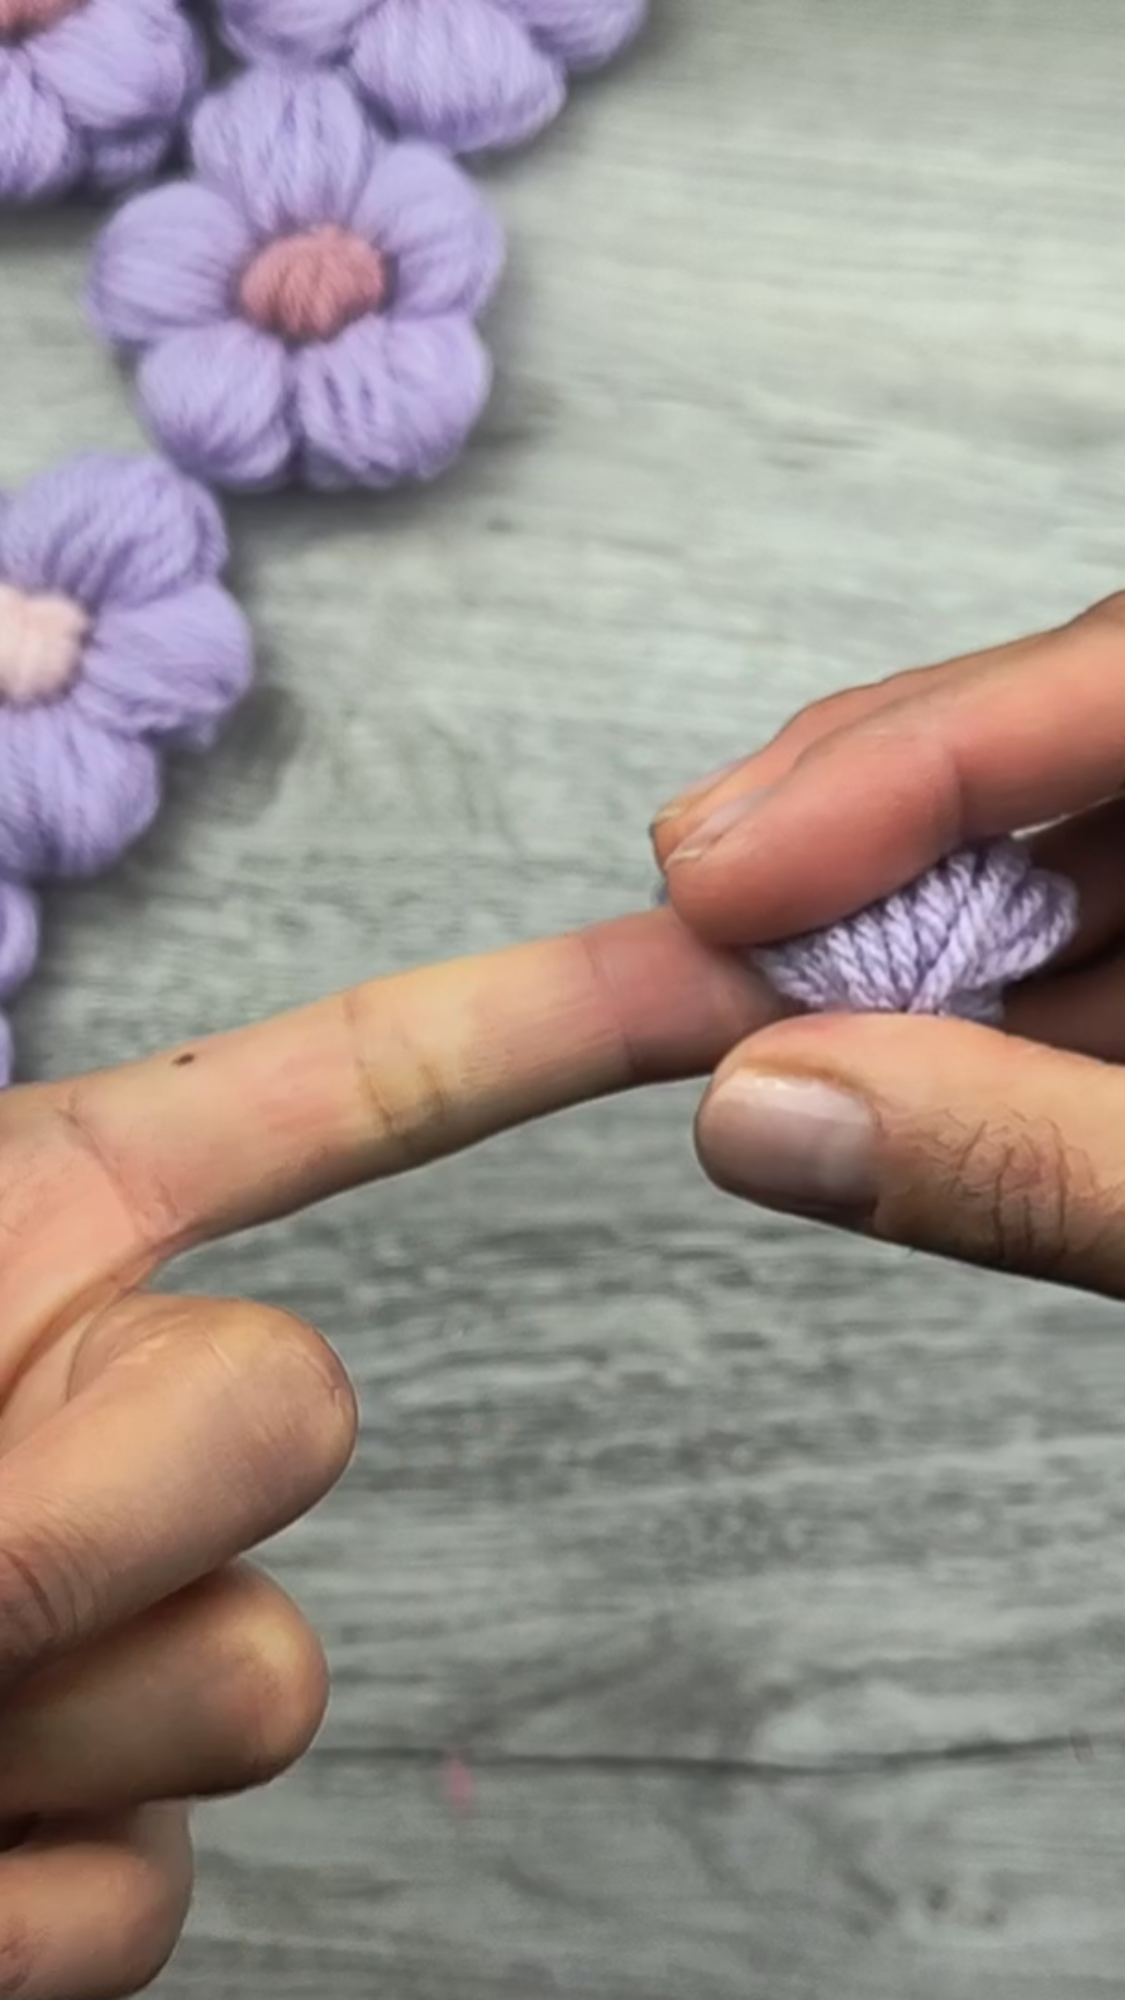
Pull this through just enough that a loop appears and then feed the needle back through this loop. This will create a knot. Repeat this step again, taking the needle under and through the wrapped yarn in the same spot and secure through the loop created again.
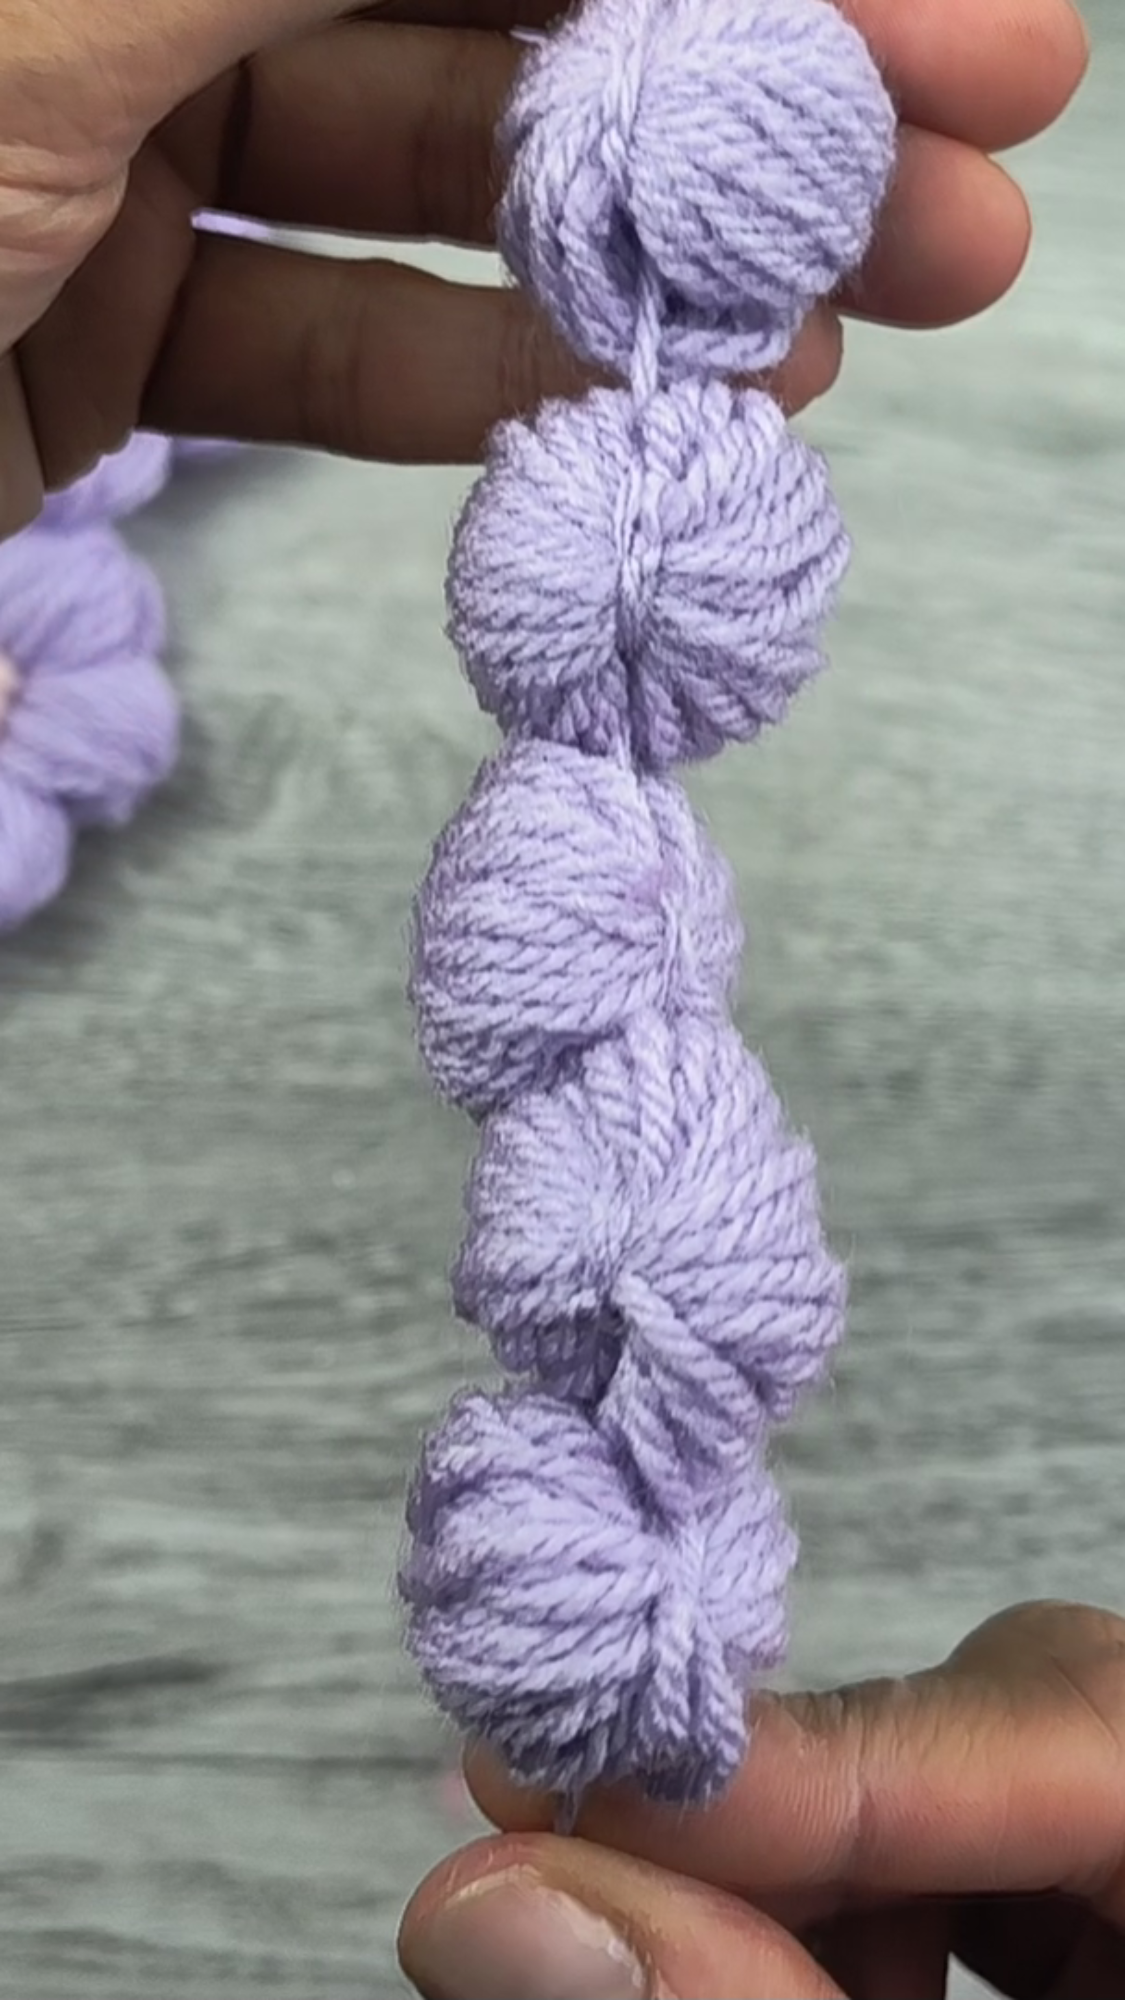
Do this twice again on the top of your finger. Pull firmly to secure. Pull the secured wrapped yarn off your finger and repeat this step 4 further times (5 petals in total per flower)
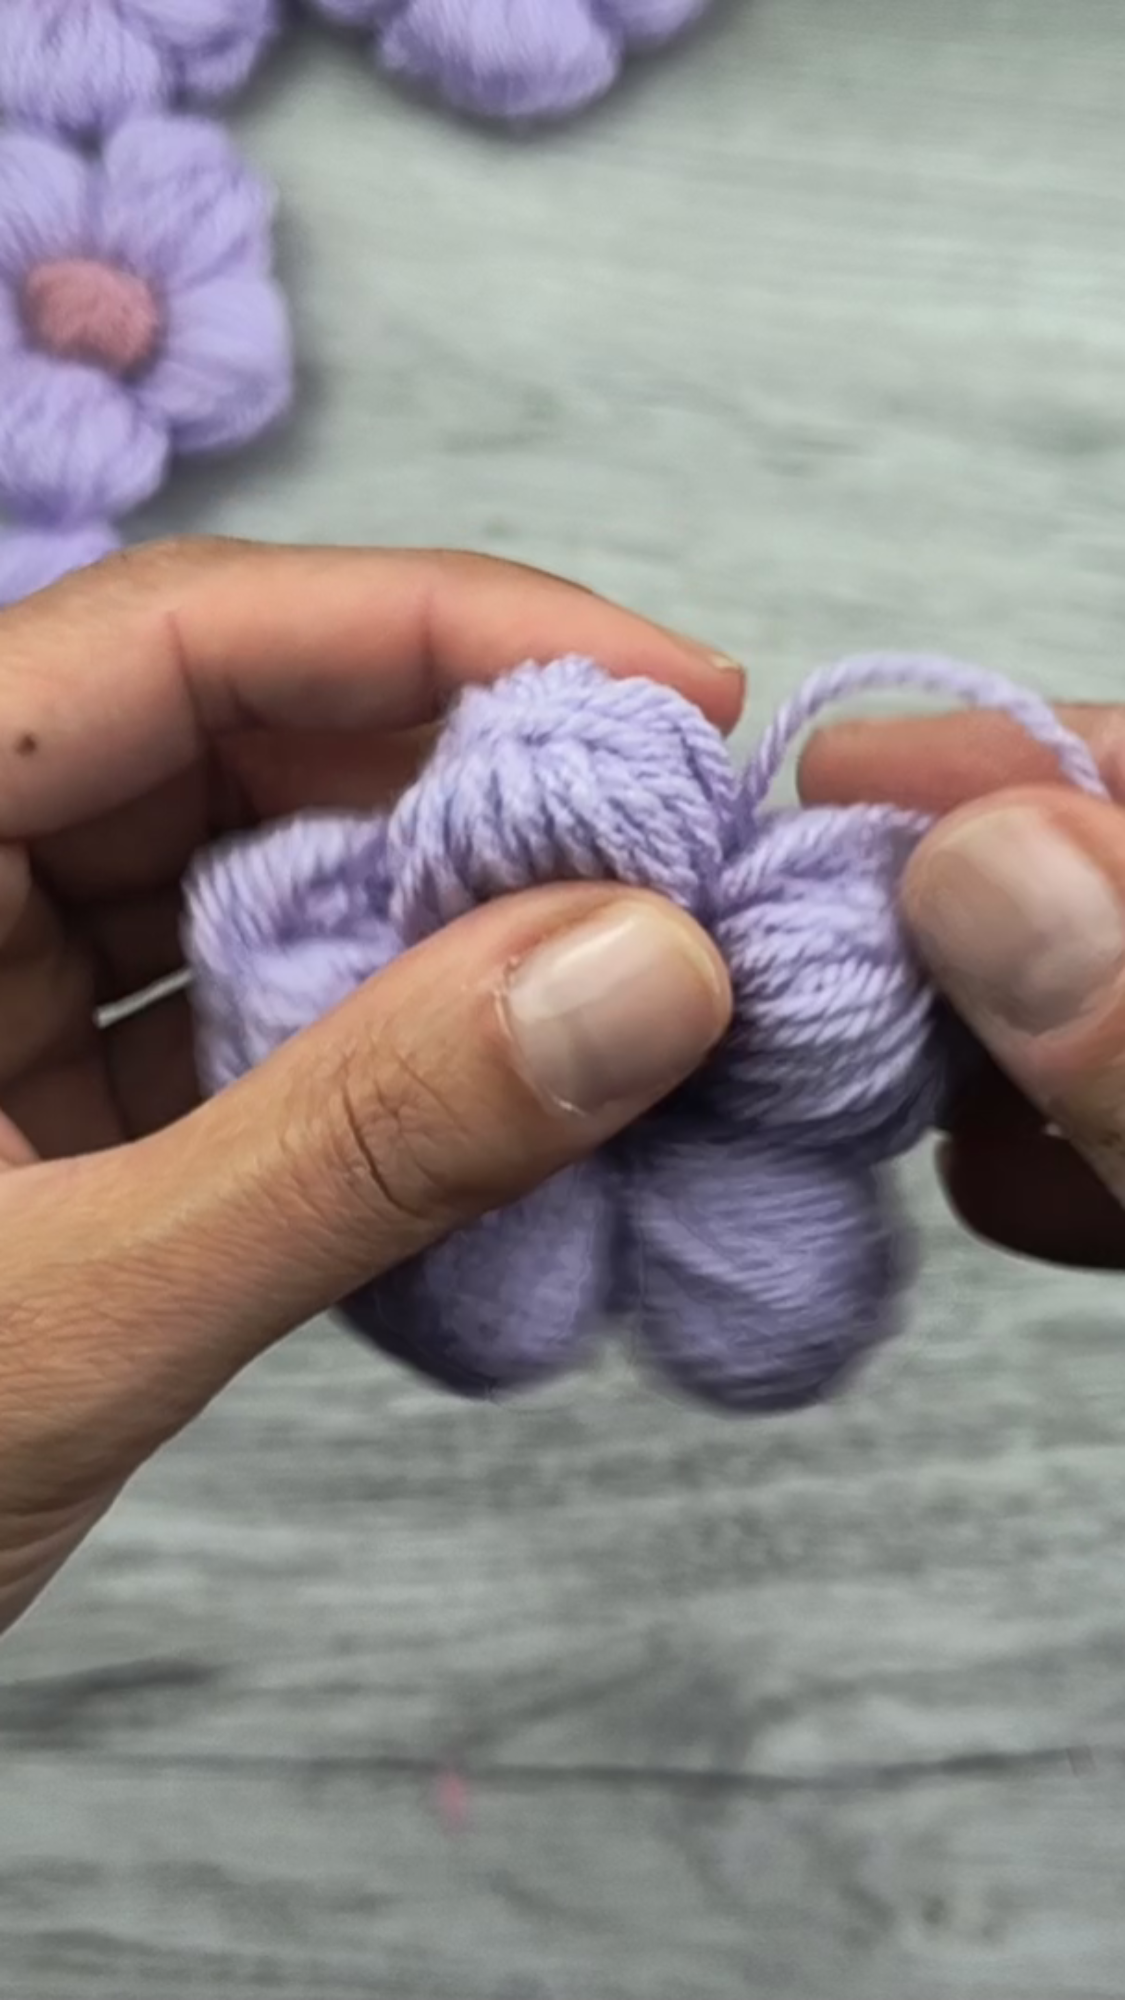
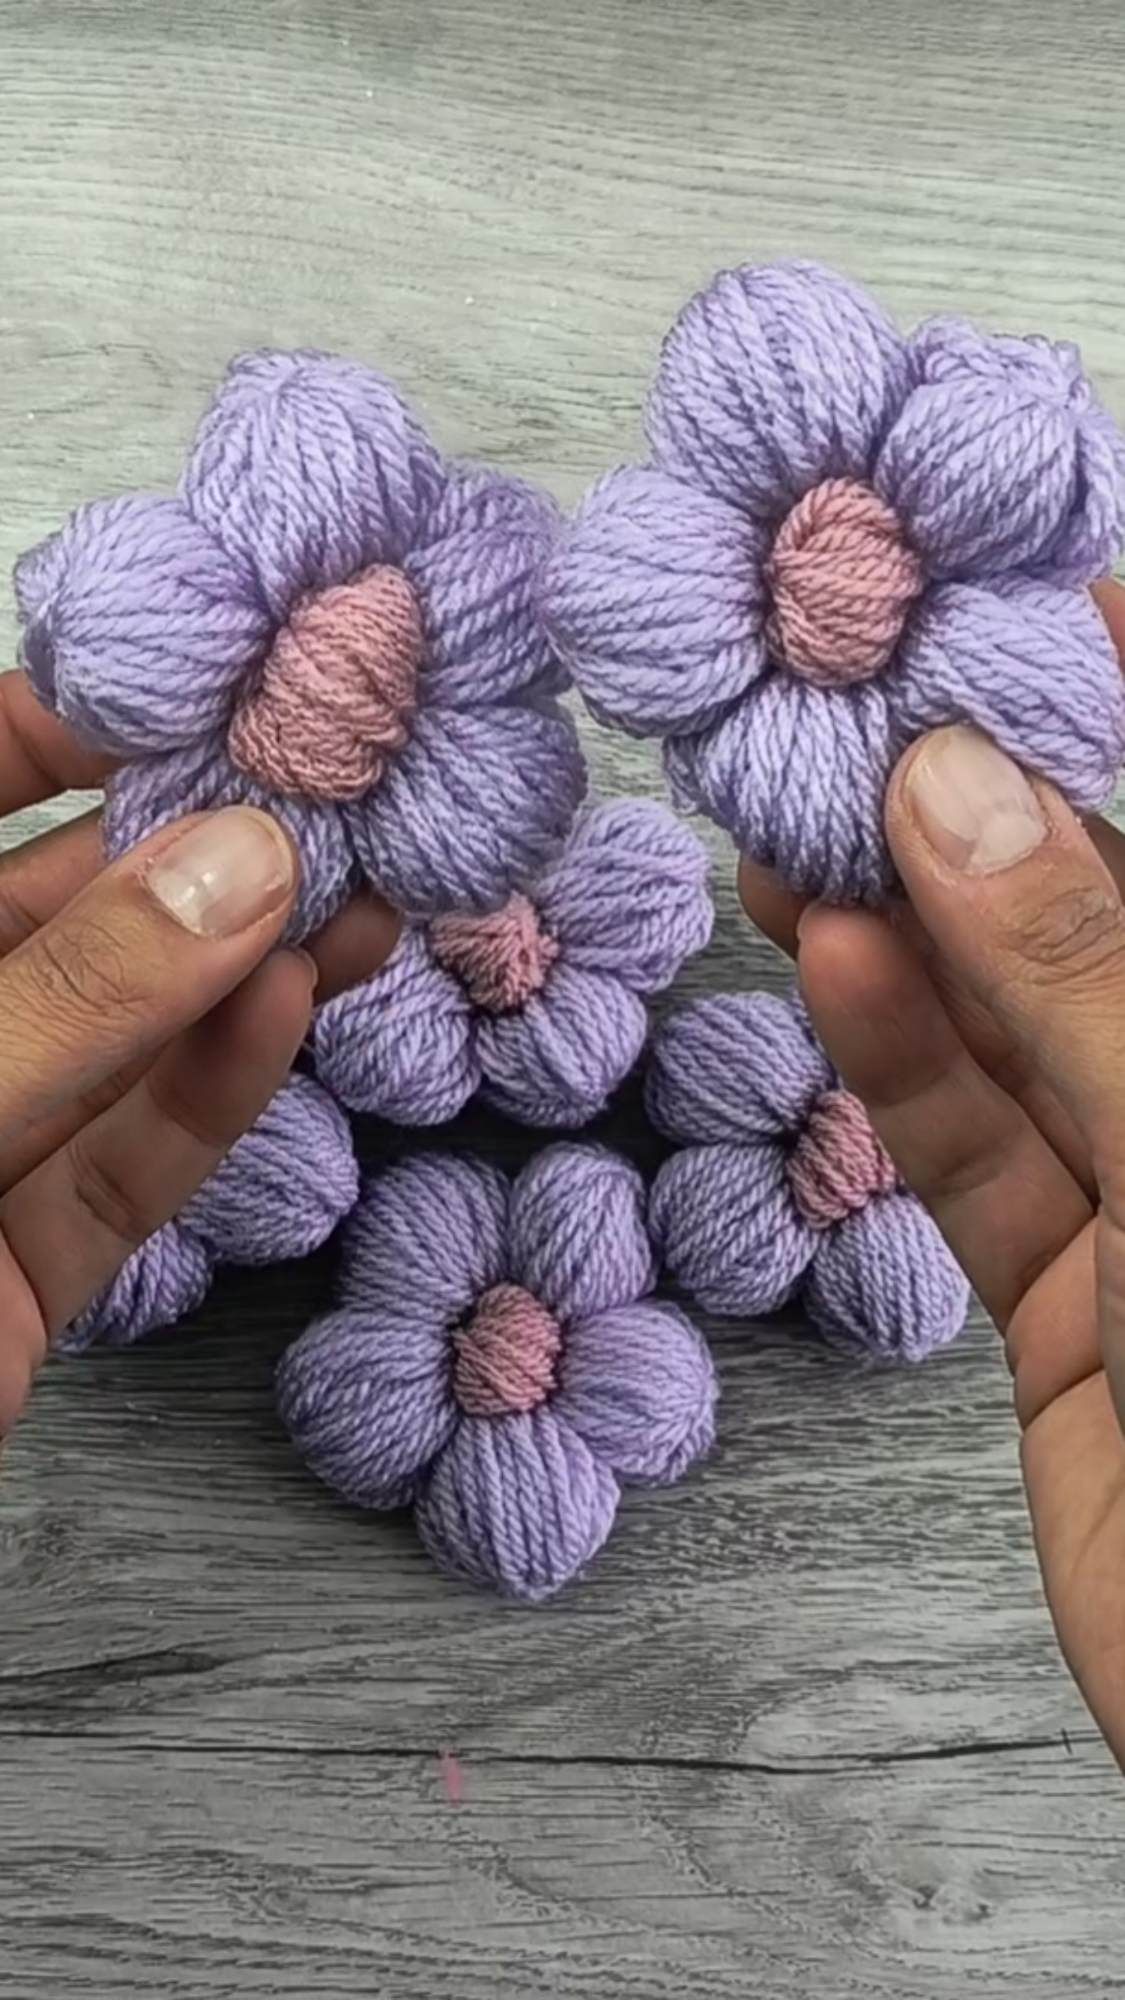
Step 2: Creating the Flower
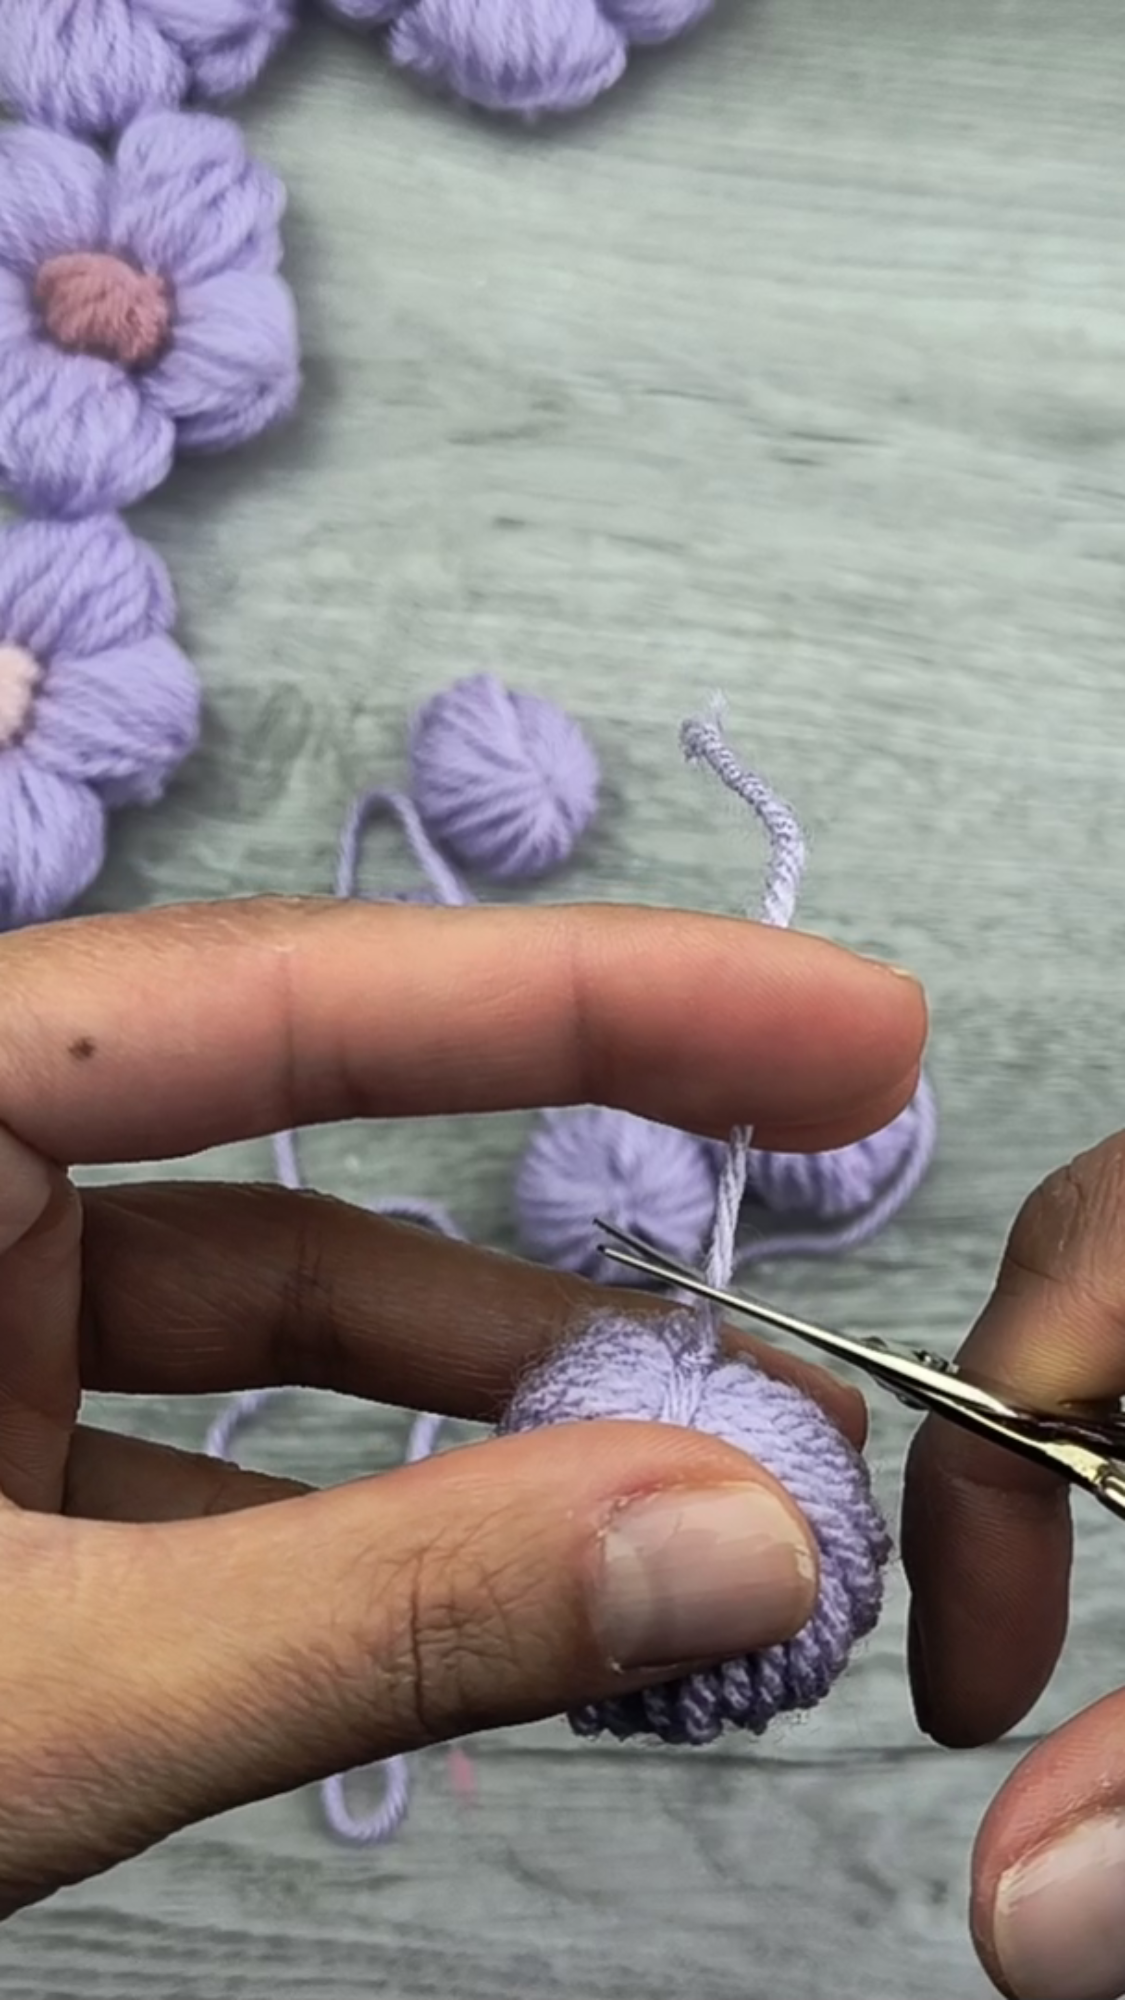
Once the 5 petals are created, trim the tails off. Give it a good tug before snipping close to the knot.
Step 3: Making the Inner Disk
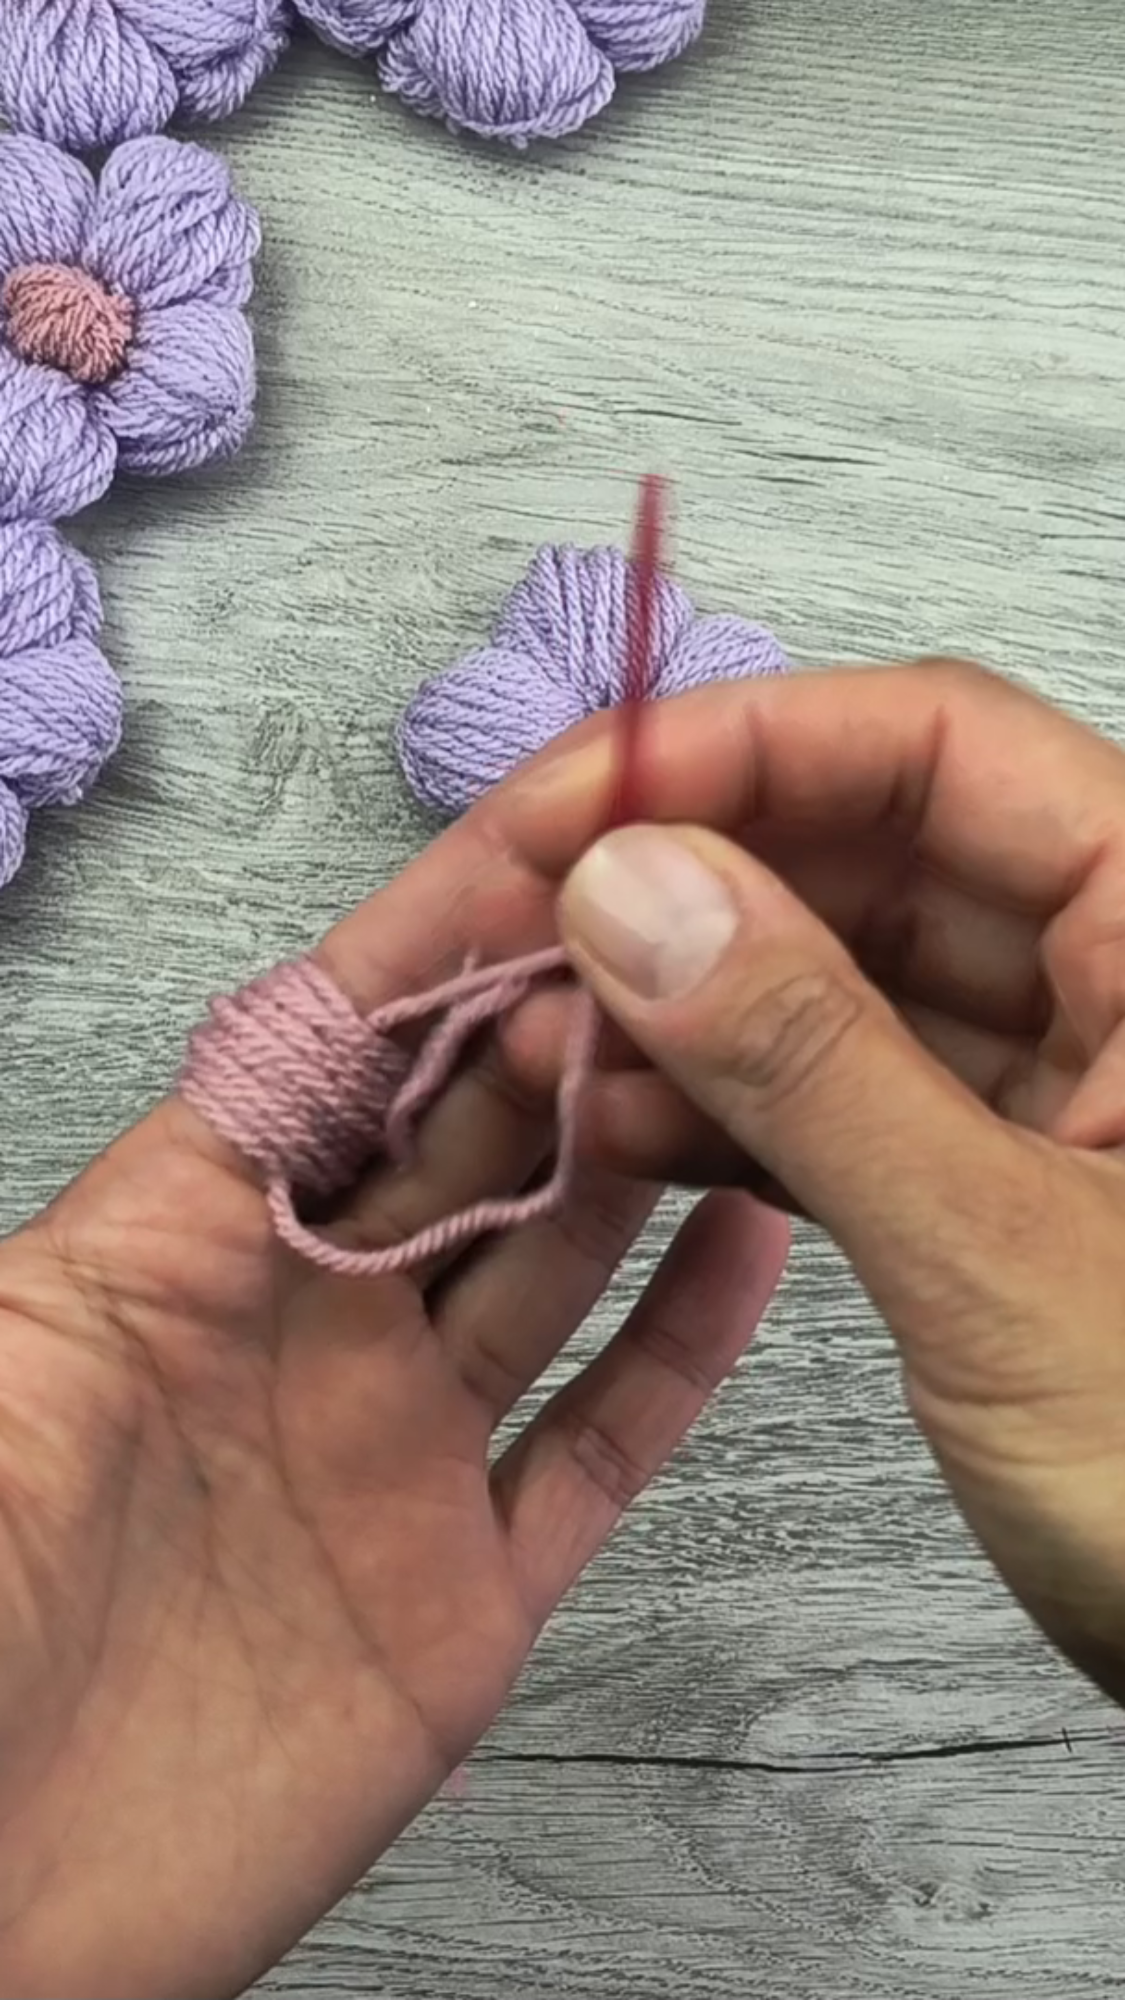
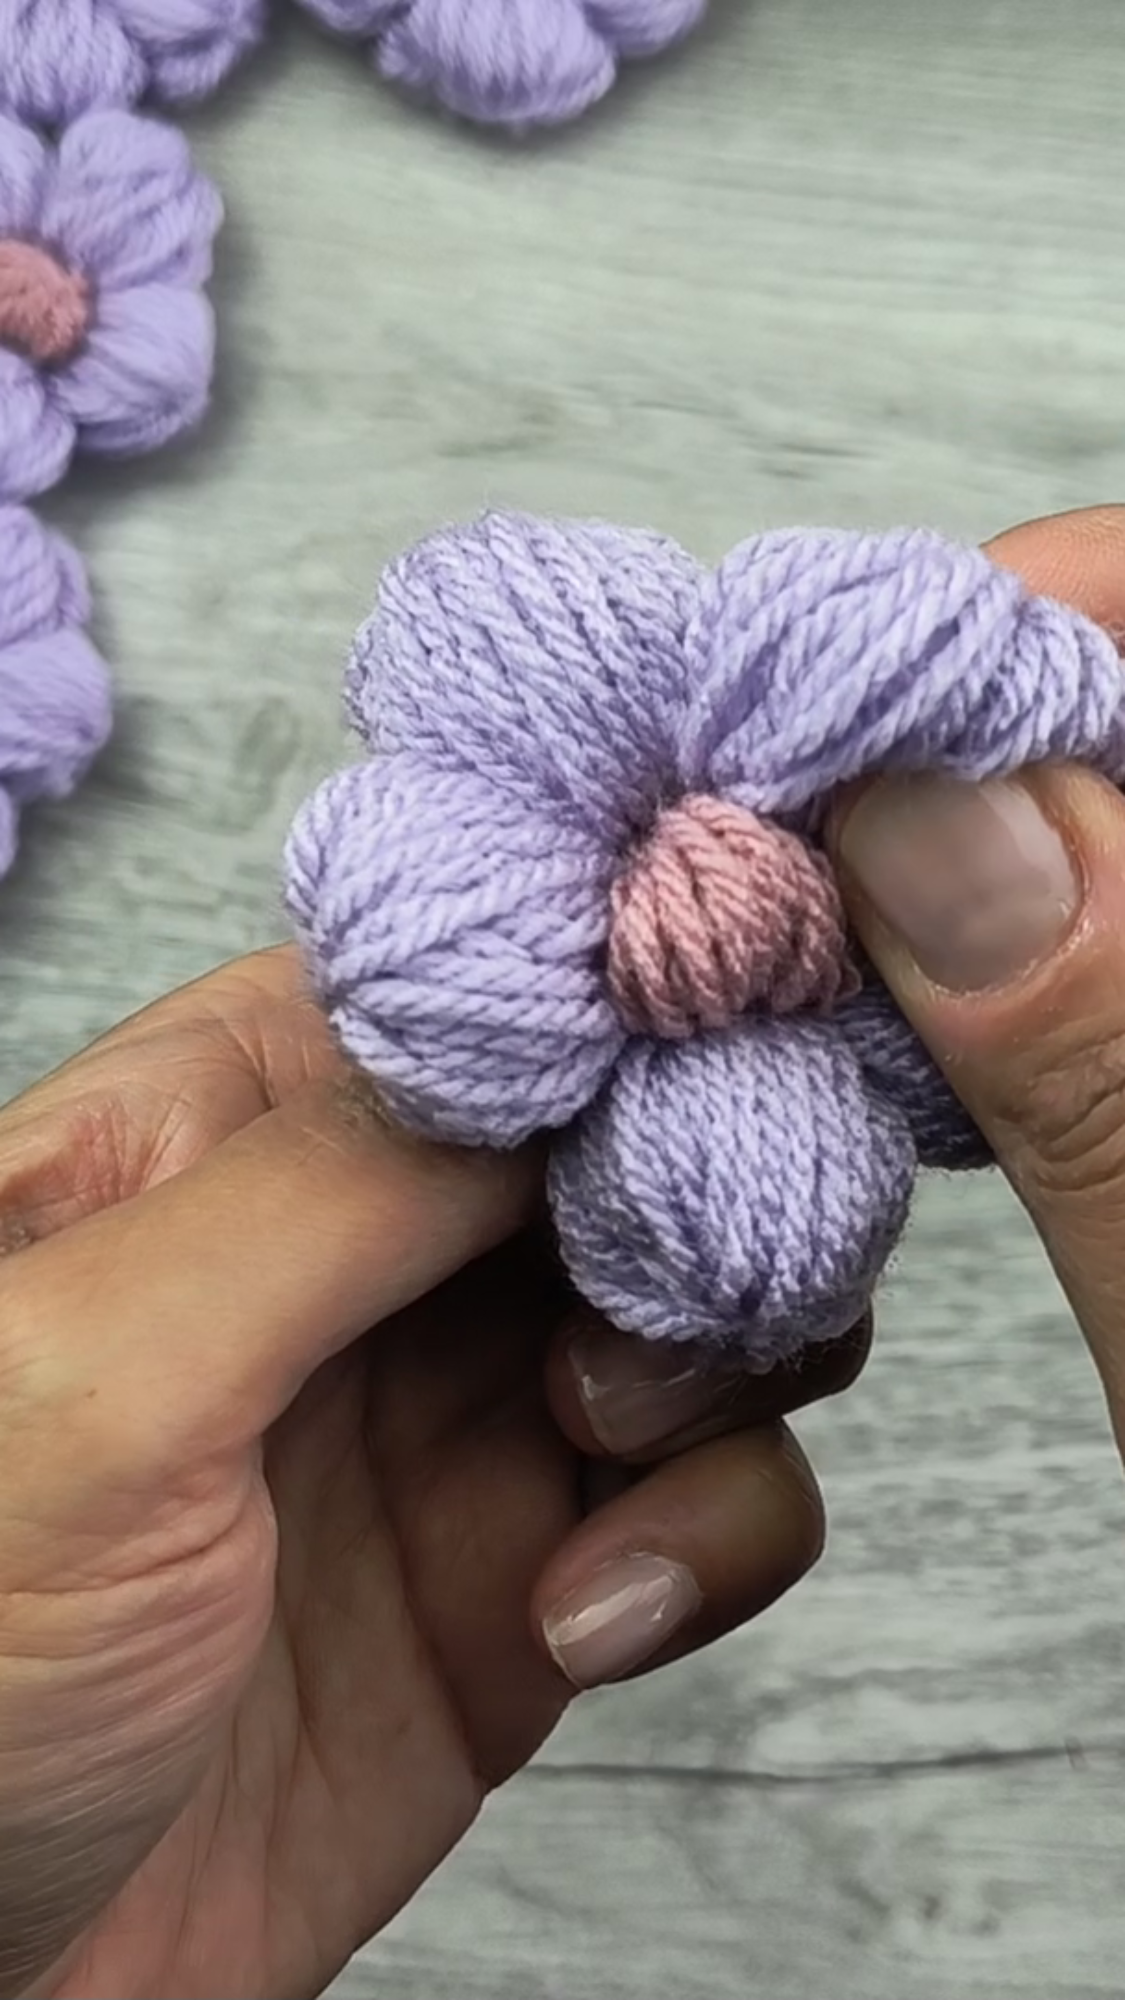
Repeat Step 1 to make the inner disk of the flower, but only wrapping around your index finger 20 times. This will produce a smaller ball. Then insert this into the centre of the flower. No glue or sewing is required!
Step 4: loop, secure and repeat
Repeat Steps 1-3 to make as many flowers you need for your Wreath.
Step 5: Assemble the wreath
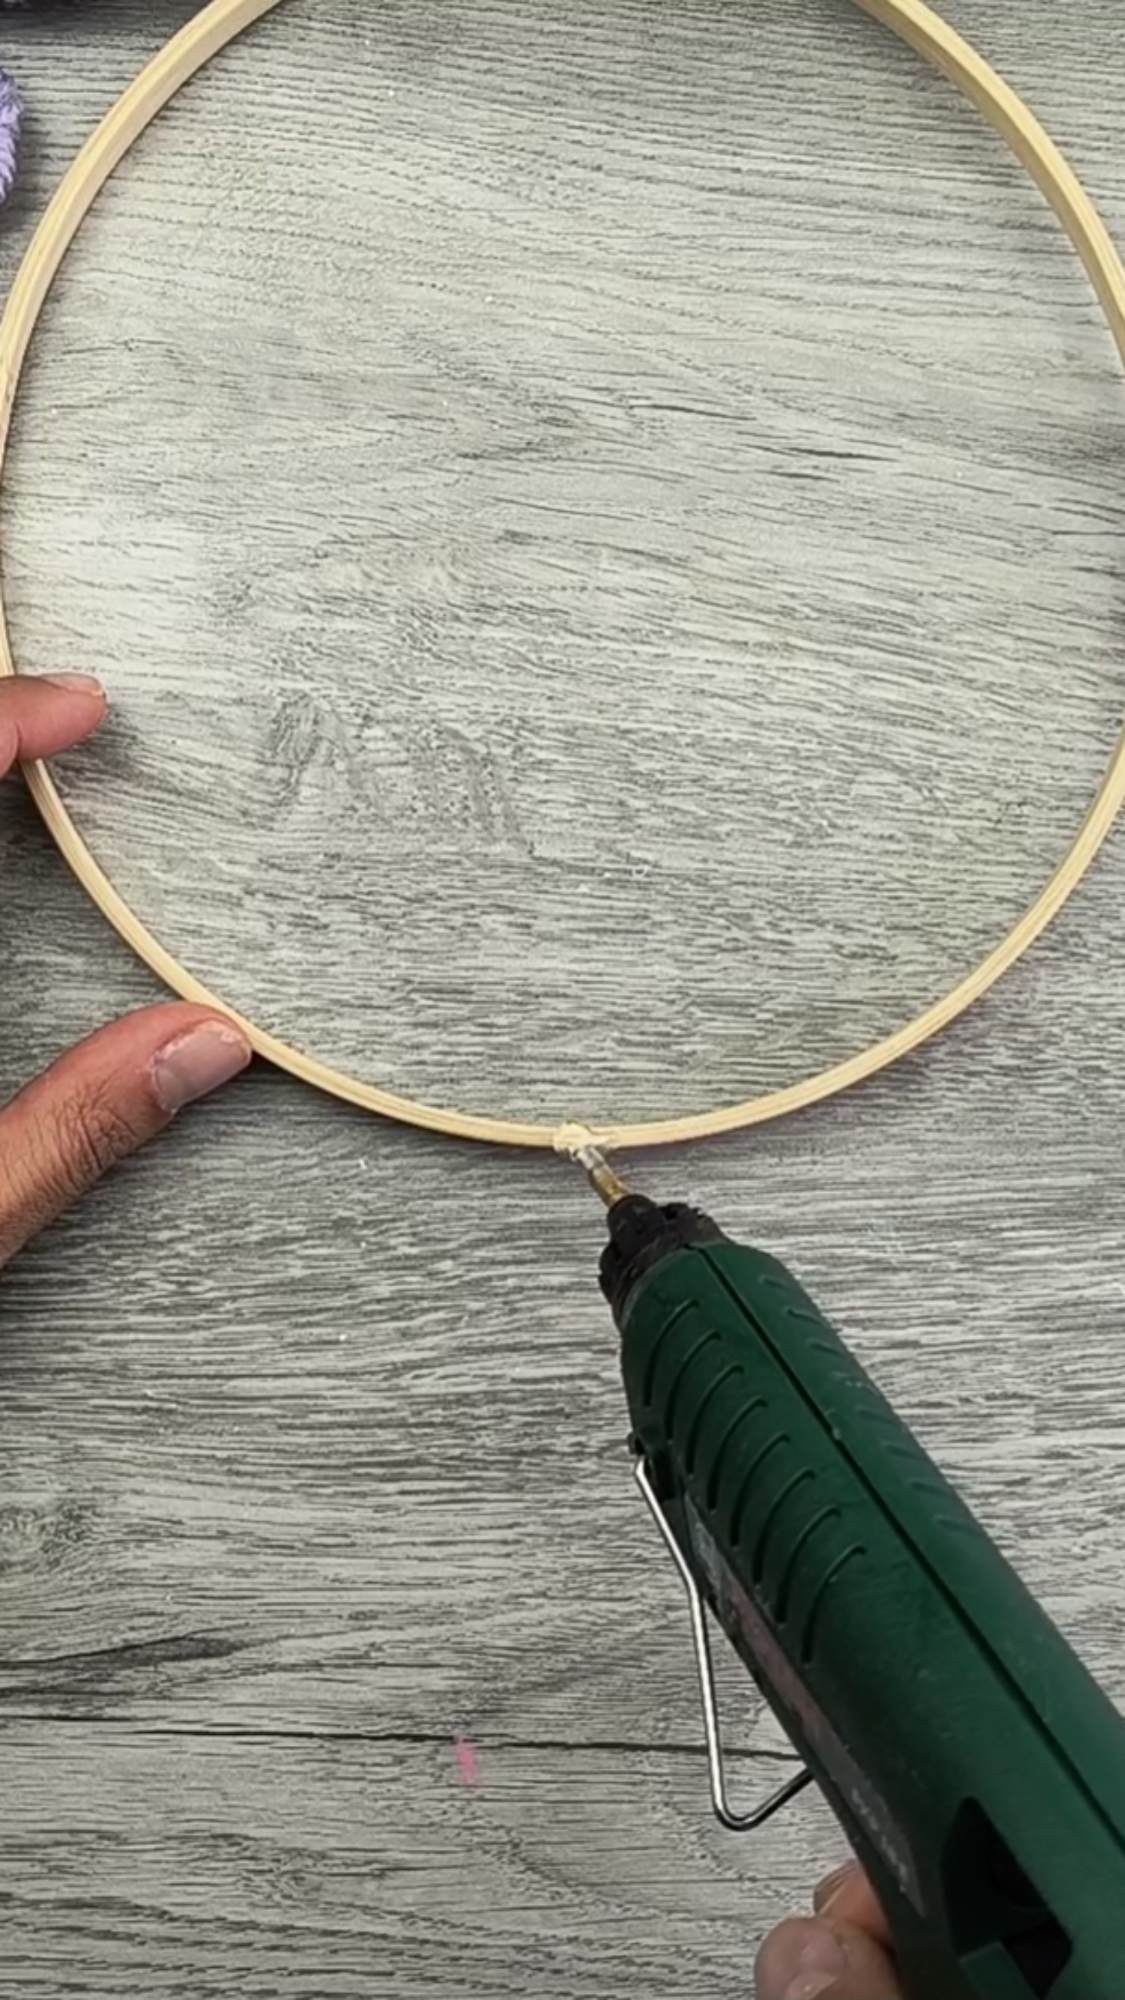
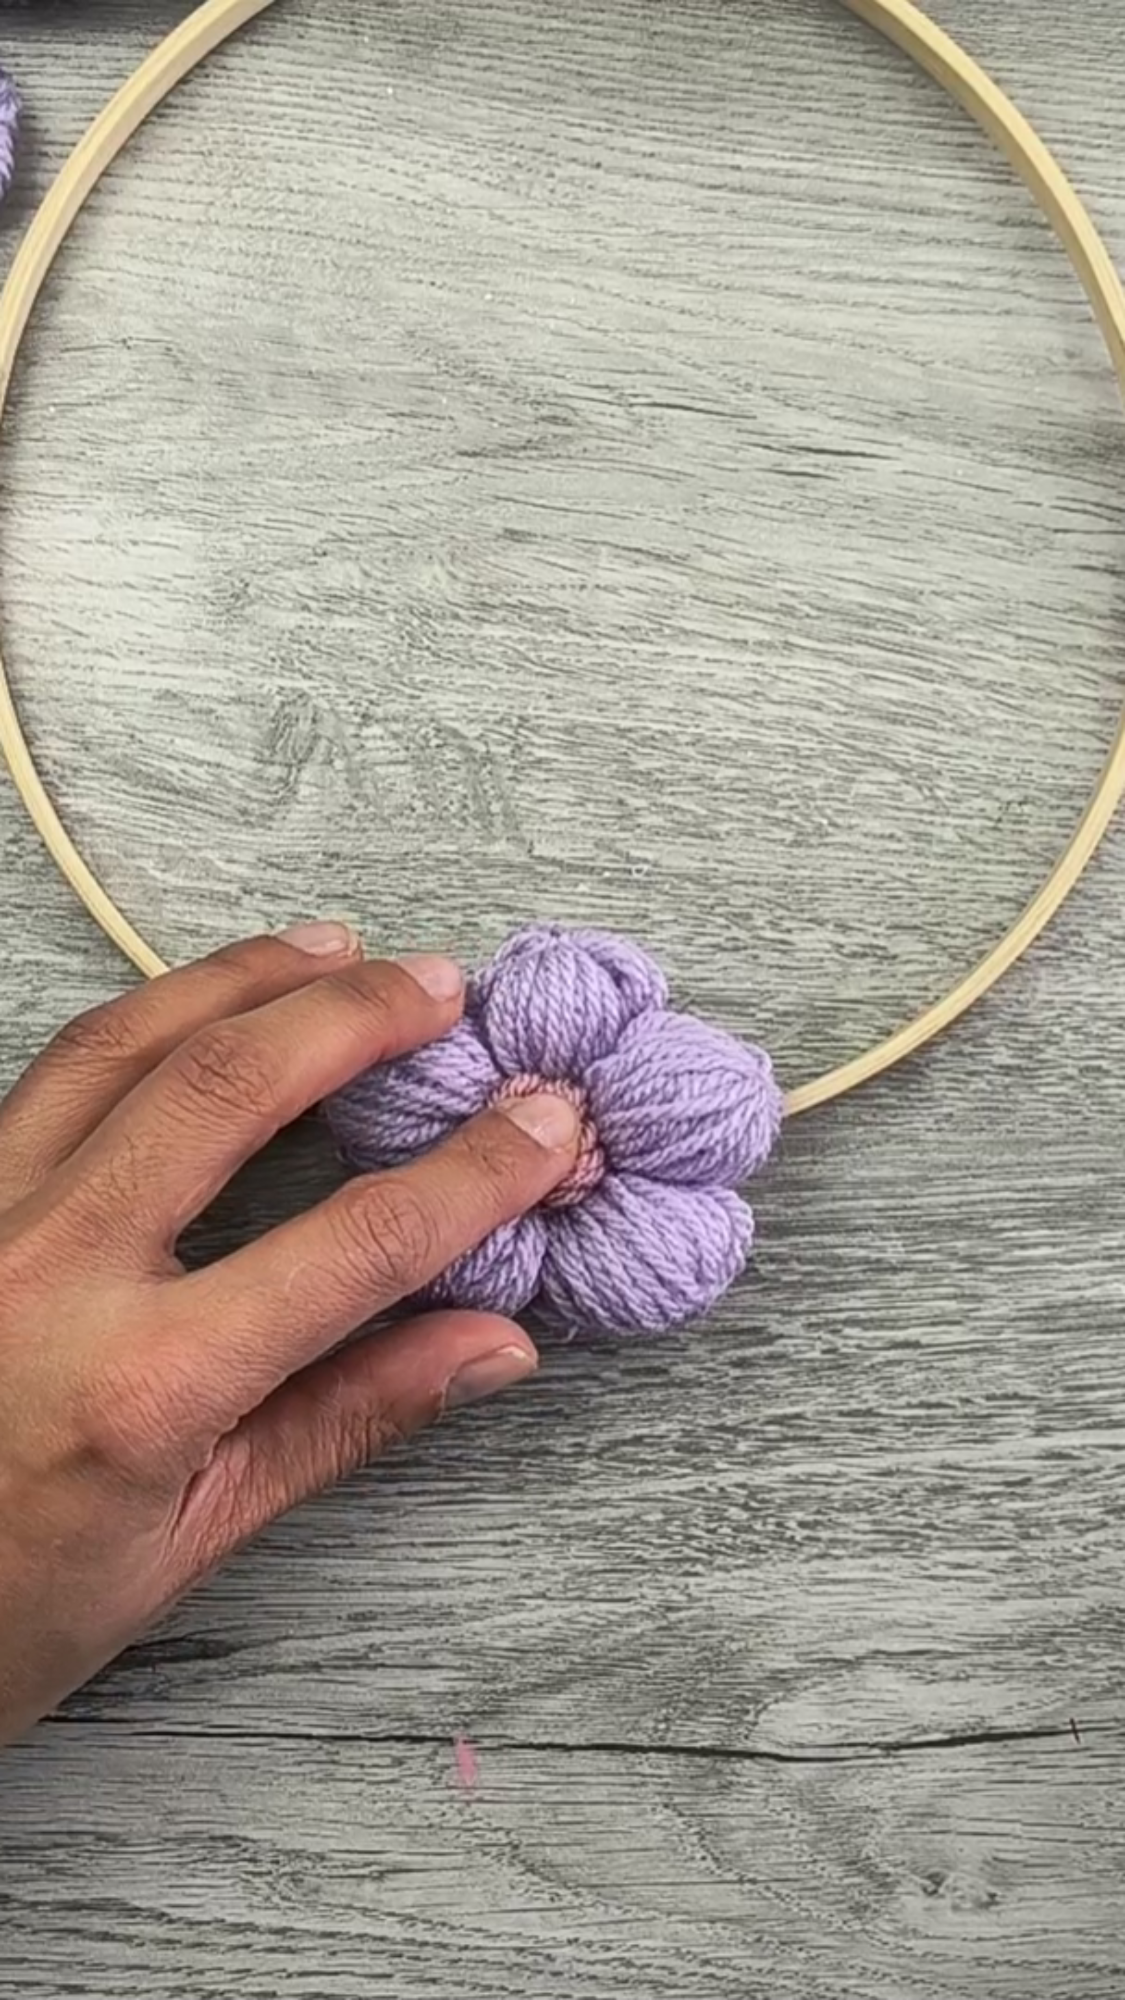
Hot glue each flower onto your Wreath
Step 6: Cord & Embelishments
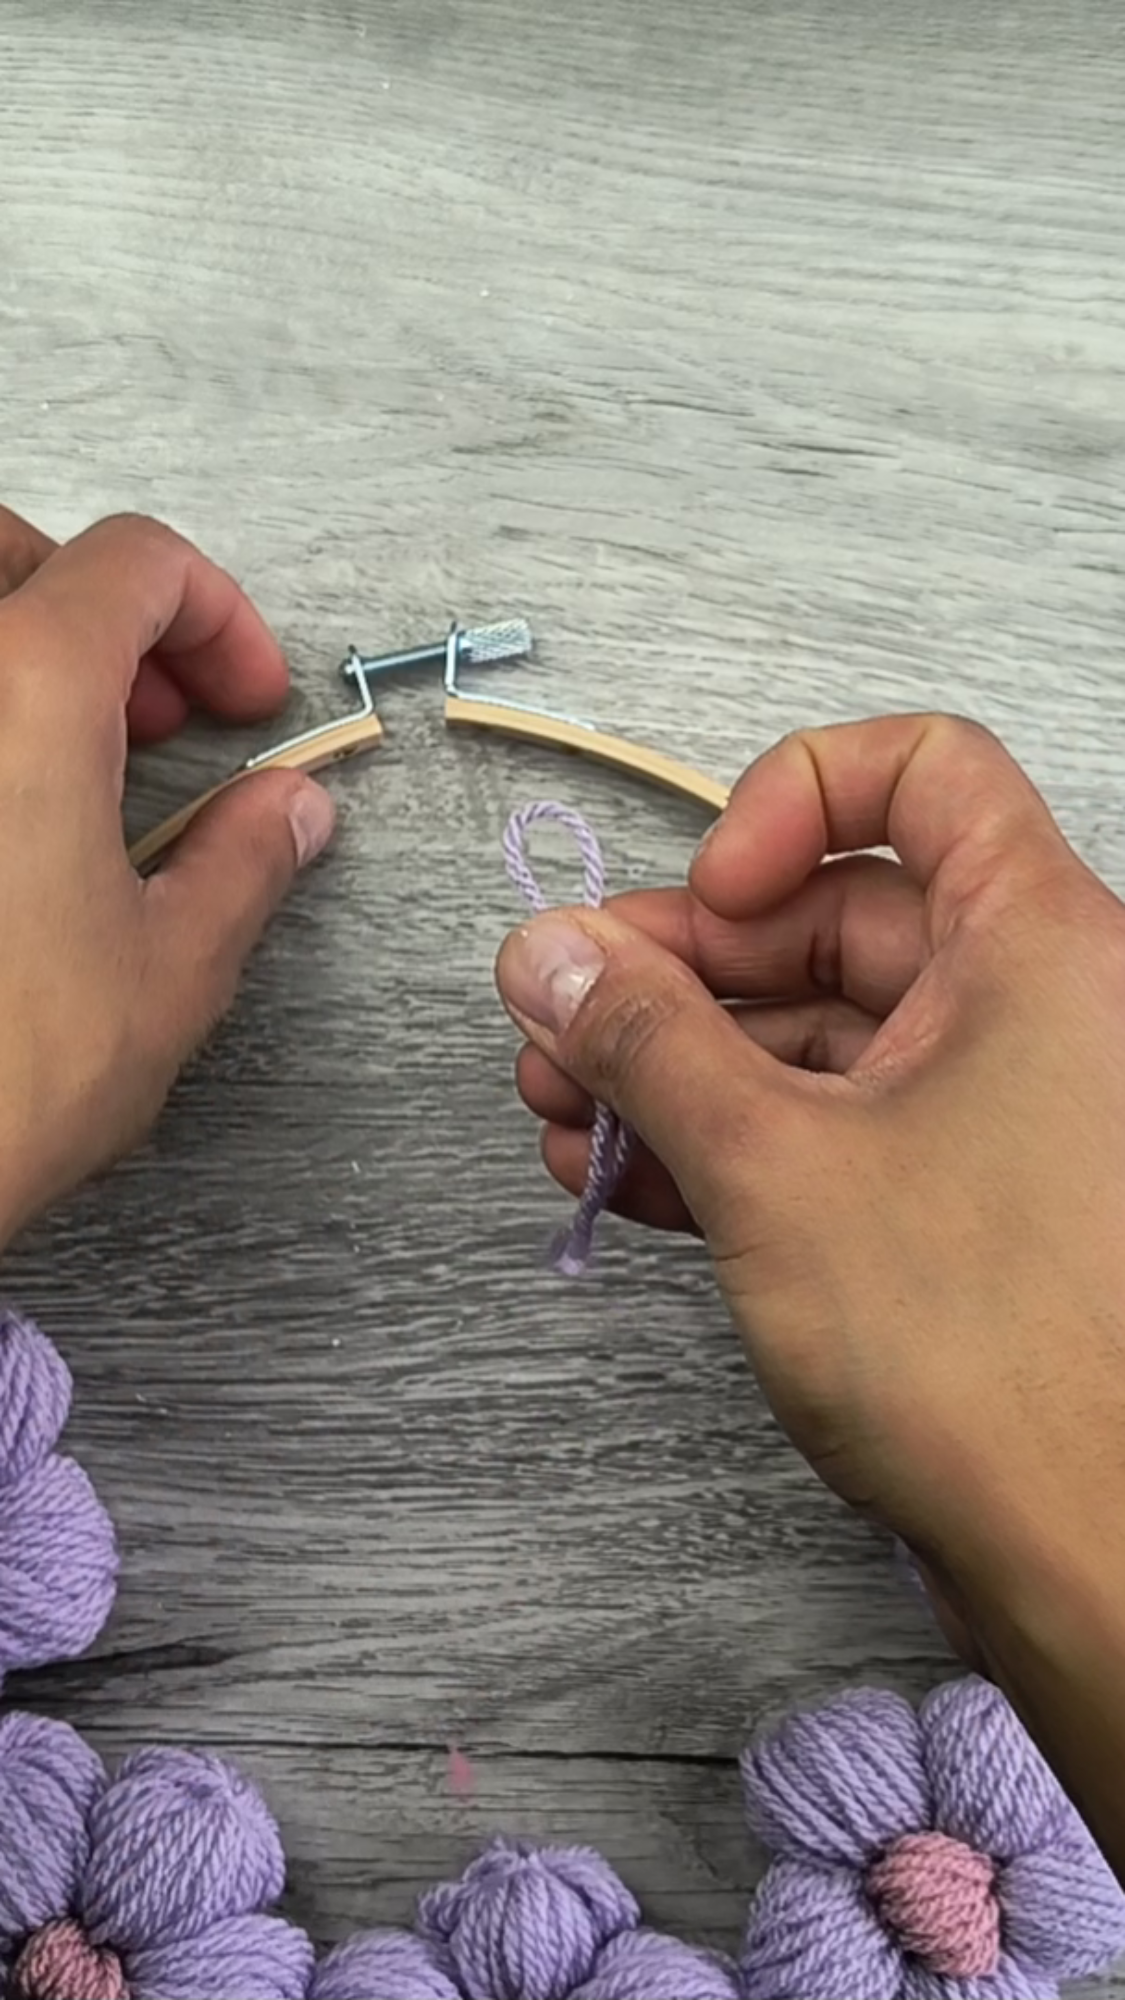
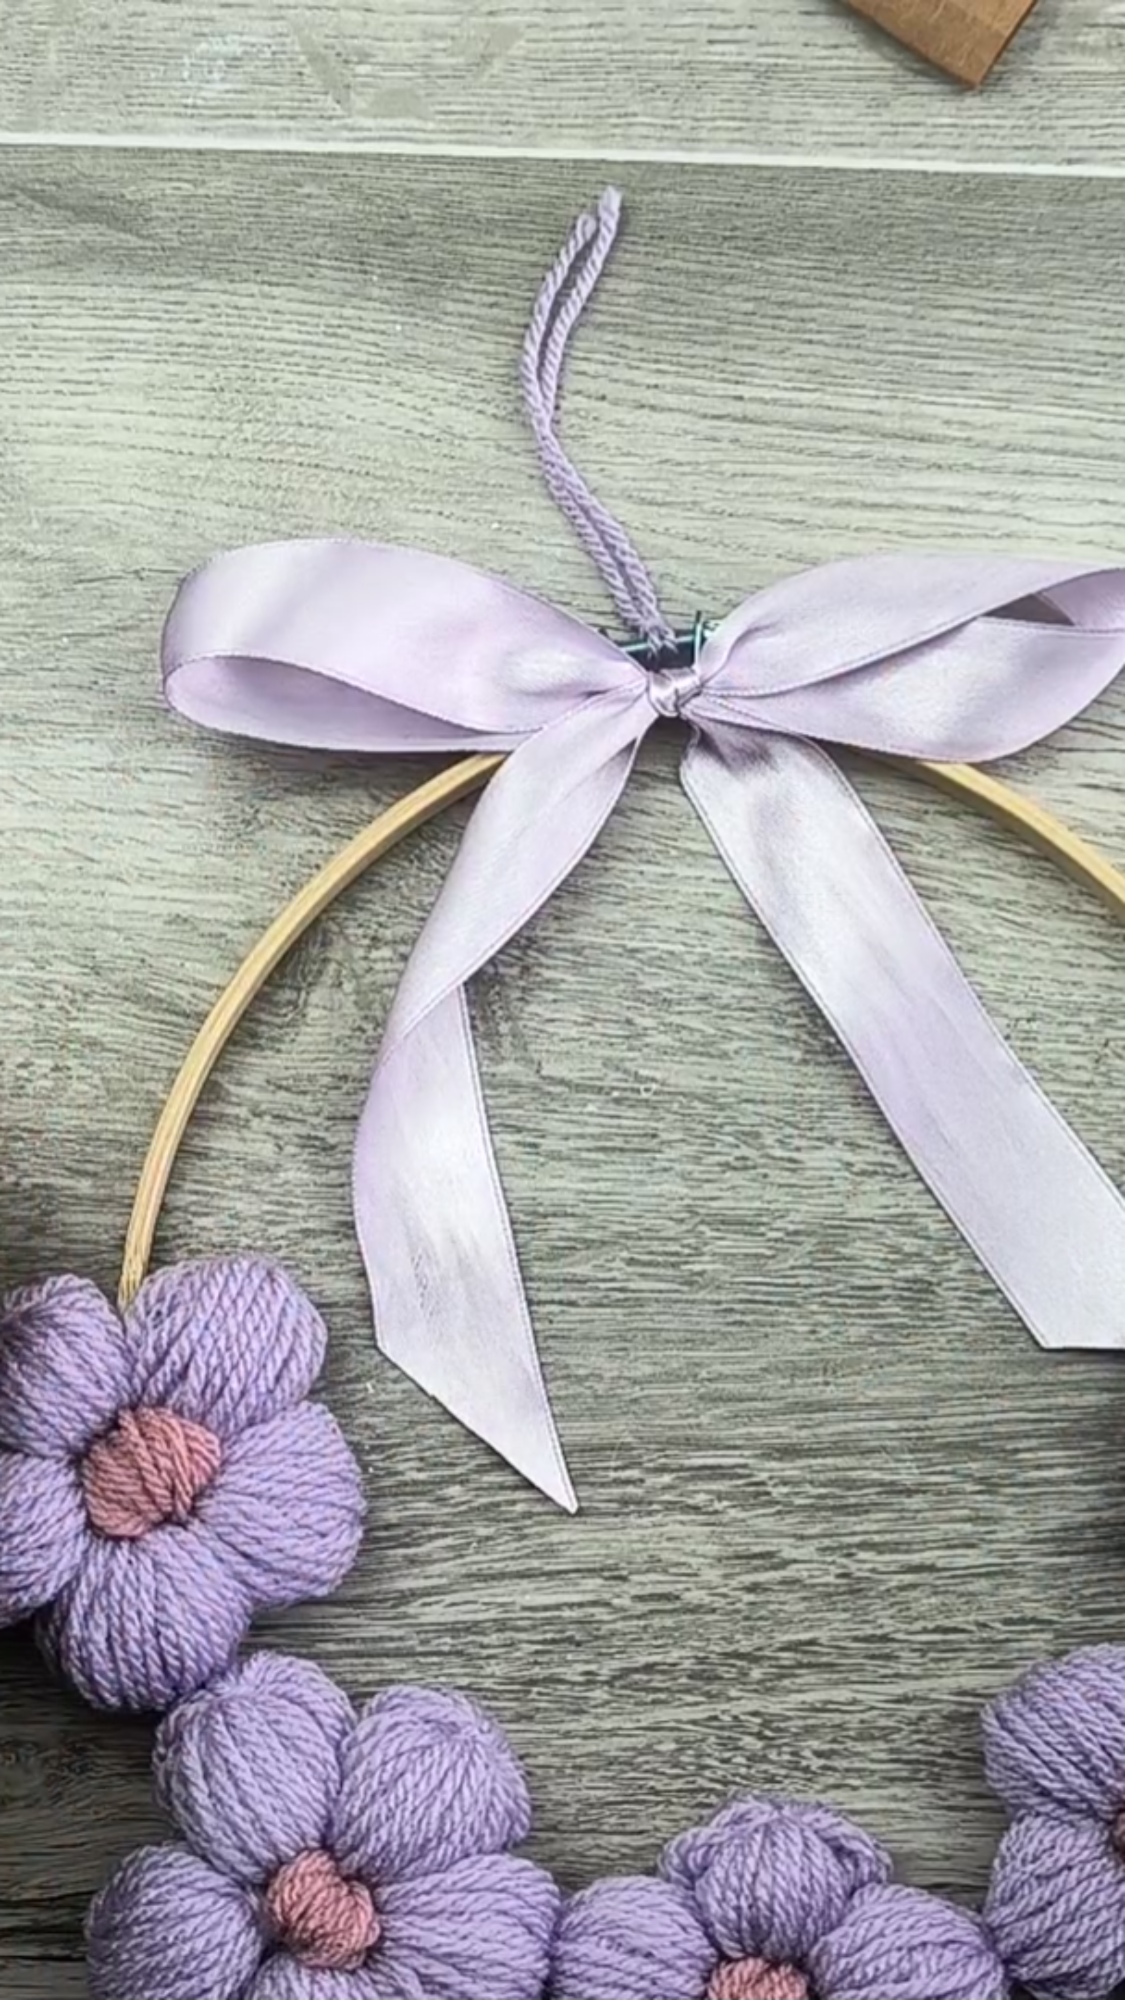
Add a piece of yarn to the top of your Wreath for hanging and then add a ribbon bow tie for the final perfect touch! Add rhinestones, beads, or even felt leaves for added effect!
Step 7: Hang & Enjoy!
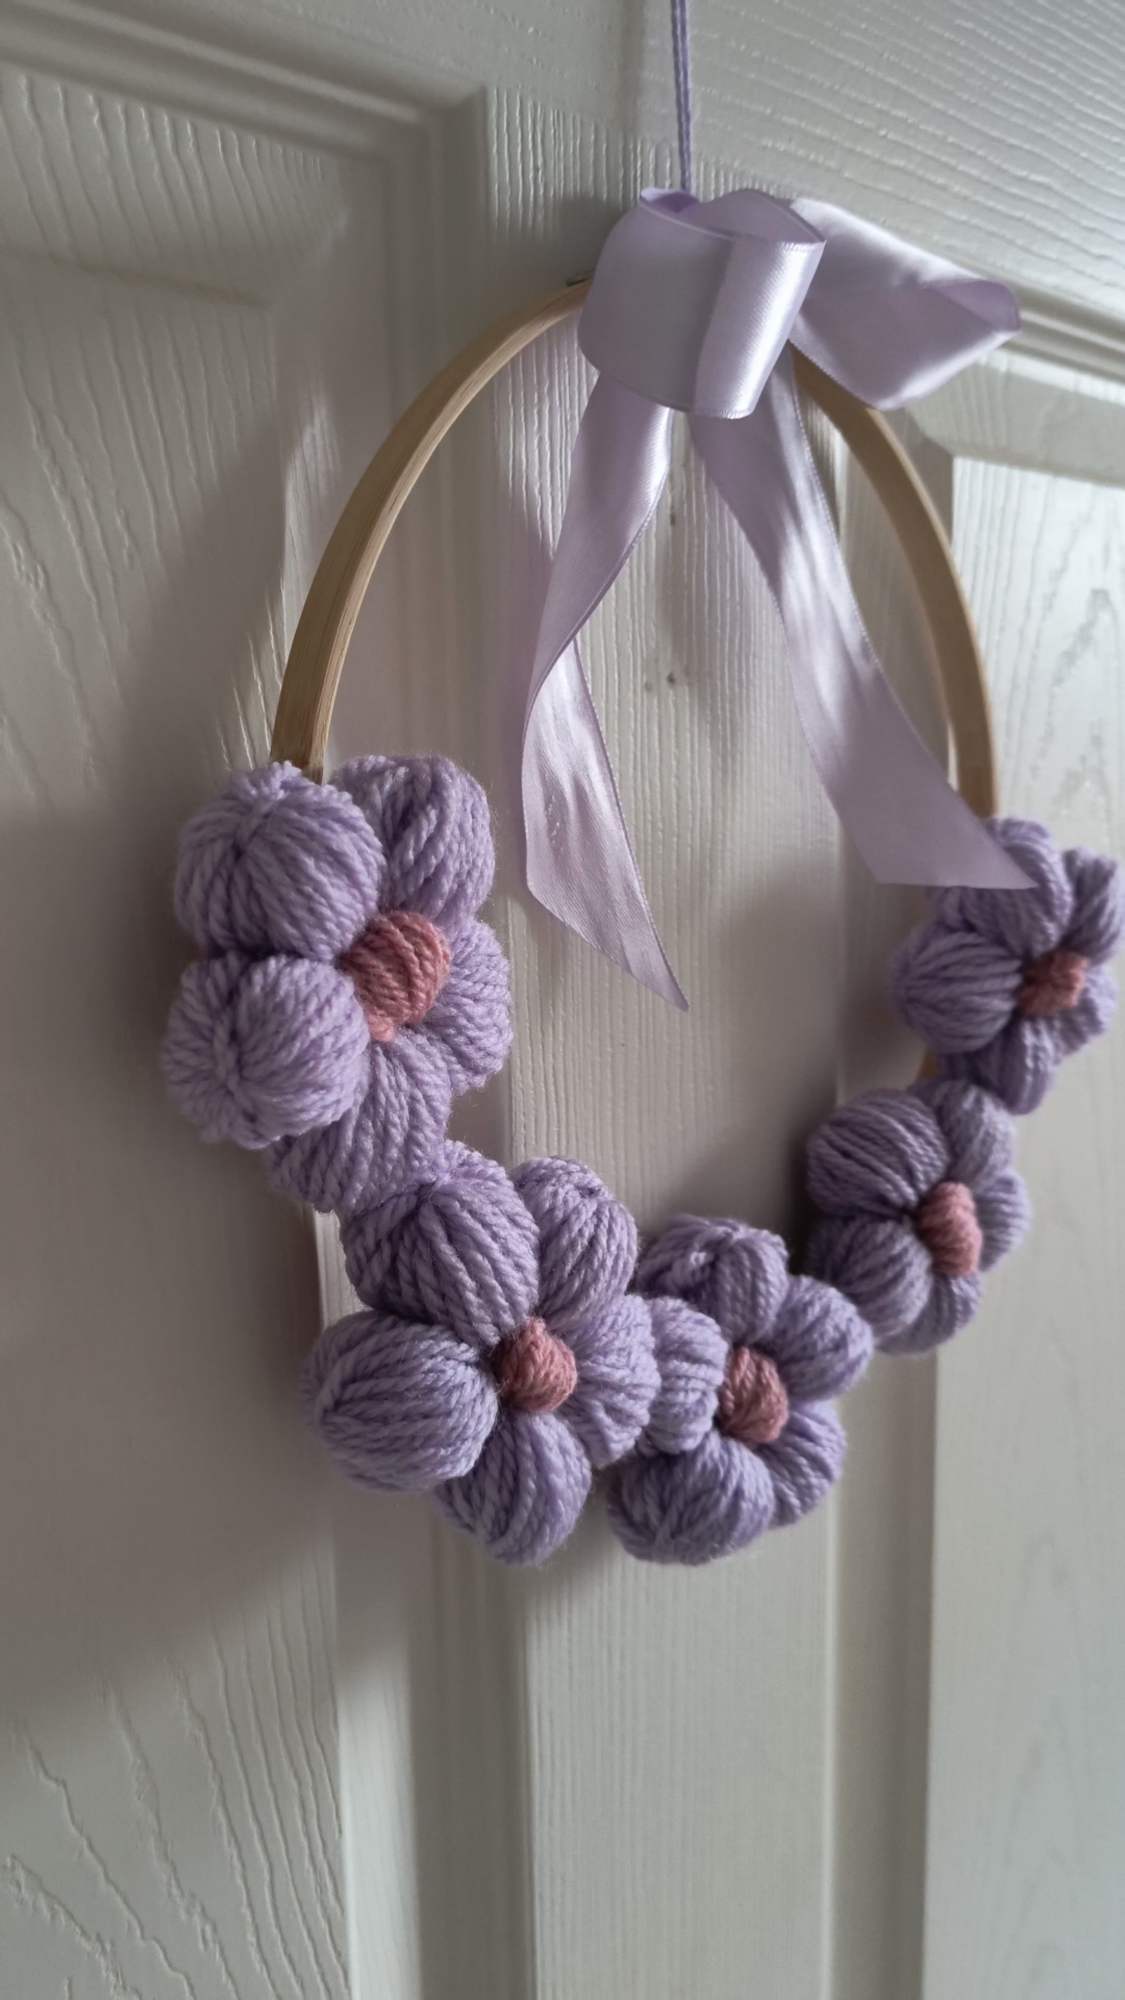
Hang and Enjoy! Once you're satisfied with the arrangement of your yarn flowers and any additional embellishments, allow the glue to dry completely. Then, hang your beautiful yarn flower wreath on your door, wall, or mantel to add a delightful touch of handmade charm to your home decor.

I hope you enjoyed this DIY tutorial and that your new creation brings joy and beauty to your home. Feel free to experiment with different yarn colours and embellishments to make your wreath uniquely yours.
Keep it Crafty!